vie-magazine-festive-dec-food-hero
The Holiday Table
December 2024
Festive Recipes for Every Occasion
’Tis the season for gatherings, festive tablescapes, and shareable spreads! Whether you’re hosting brunch, planning an intimate dinner for two, or looking for holiday recipes guaranteed to win over even the most discerning in-laws, these dishes are sure to satisfy. Timeless classics with a twist, like mini cardamom cinnamon rolls or spinach and sun-dried tomato crustless quiche, meet global-inspired fare like a Ukrainian budmo board and Turkish shortbread cookies. Capturing the heart of the holidays, these items welcome quality moments with loved ones in the kitchen and at the table.
Be sure to tag us @viemagazine with your finished creations. We wish you a peaceful and memorable holiday season!
— V —
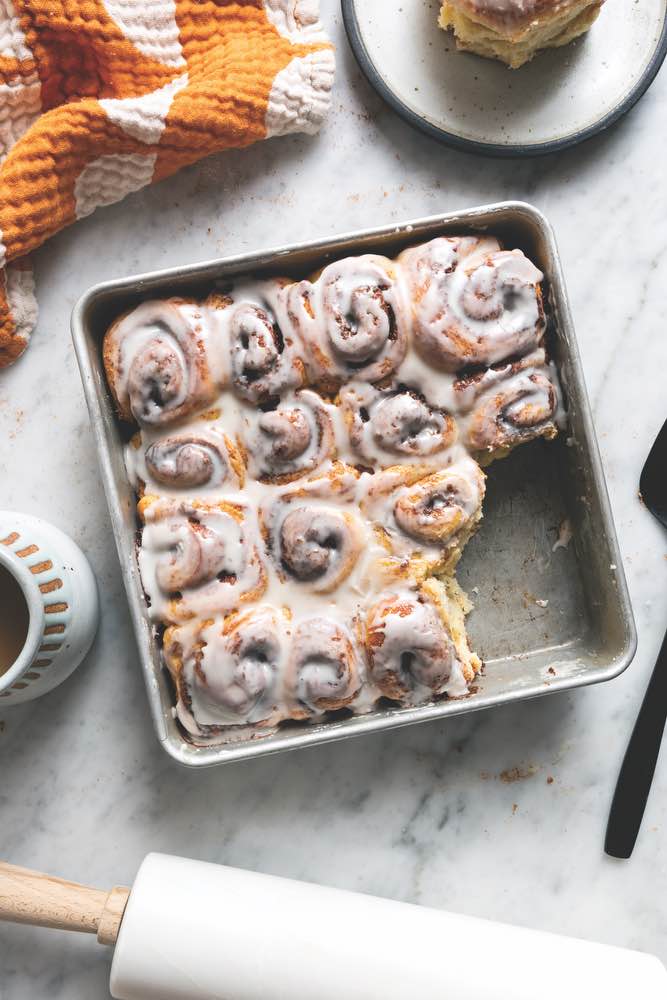
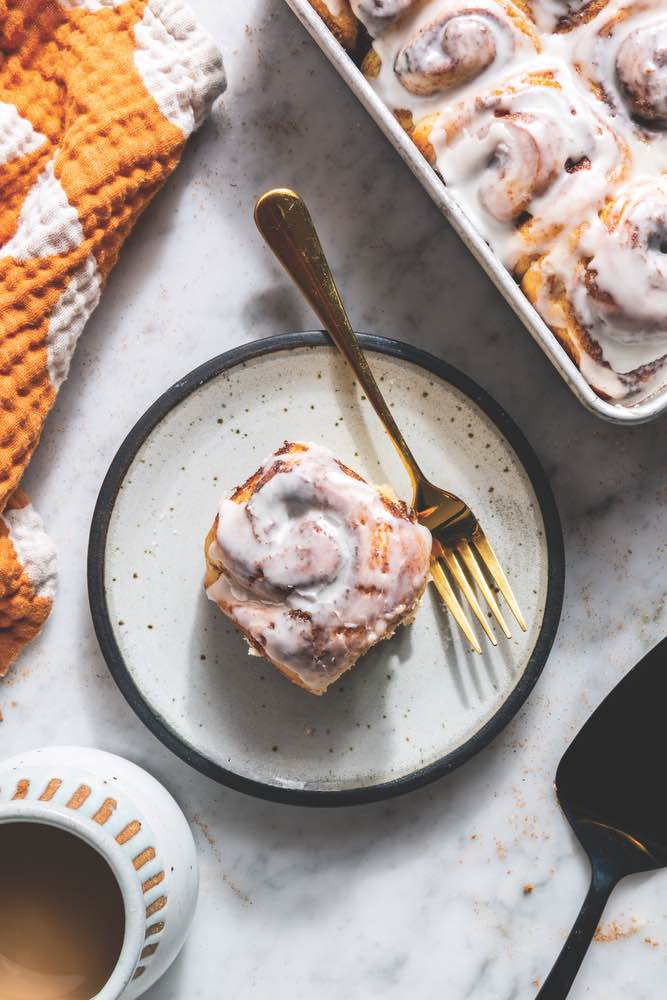
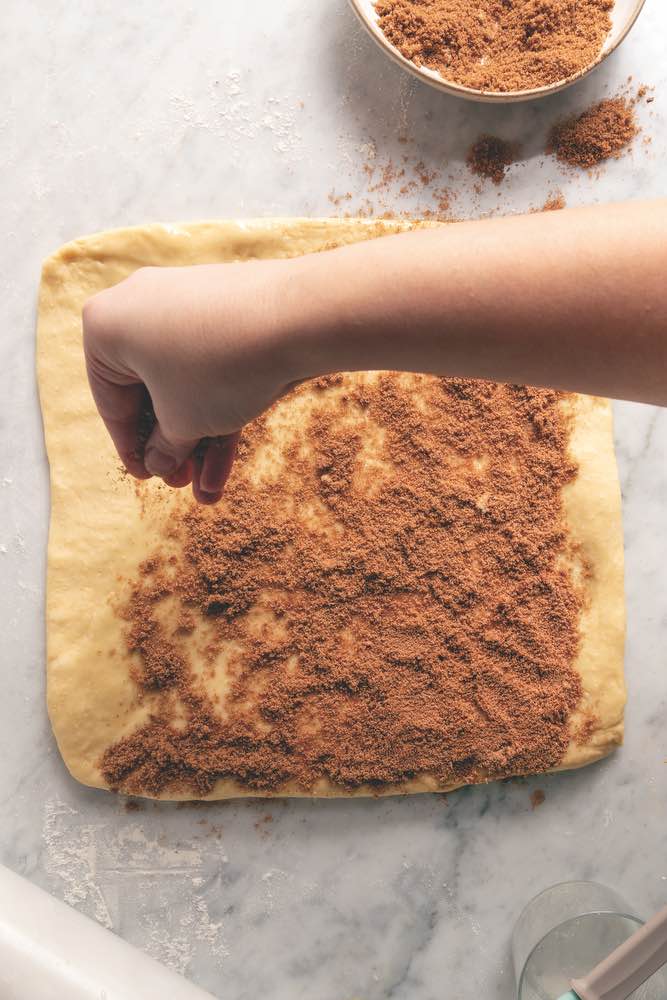
Mini Cardamom Cinnamon Rolls
By Sonja and Alex Overhiser, Founders of A Couple Cooks
Makes 16 Small Rolls
What’s a better weekend baking project than ooey, gooey cinnamon rolls? The star here is the cardamom-orange filling, inspired by a cardamom bun we had on a Sunday morning bakery run in Chicago. (We couldn’t pass up a visit to Lost Larson bakery since it’s the name of our son, which he found wildly amusing.)
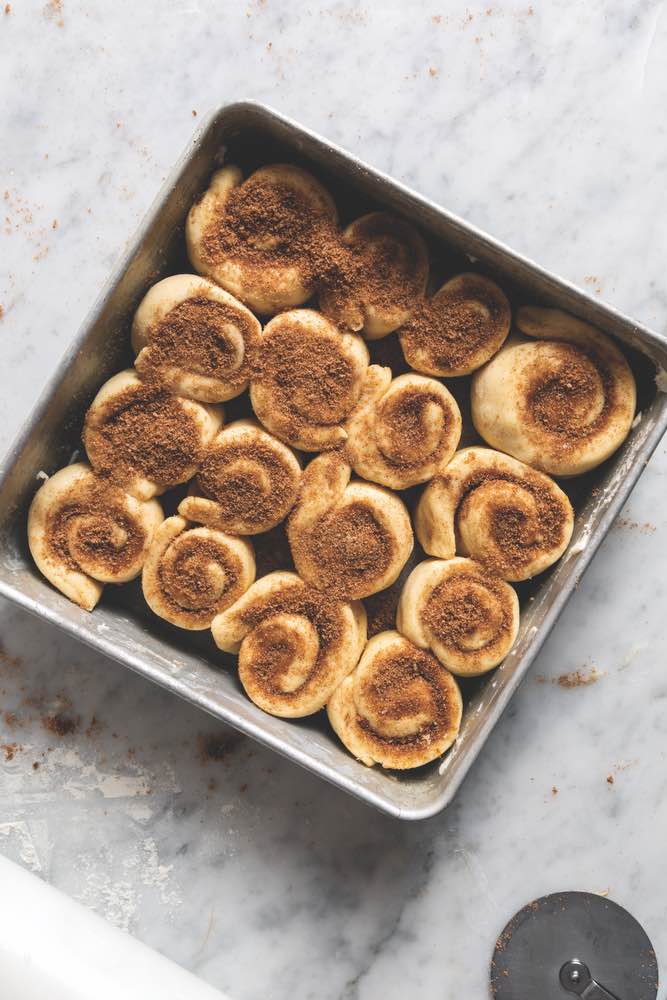
This recipe makes a 9 x 9 pan of mini rolls, so you can eat more than one and have enough to go around! Baking is a two-day process (who wants to wake up 3 hours beforehand?). Start the rolls the night before and refrigerate overnight, then bake them in the a.m. and enjoy the cinnamon-spiced scent wafting through your kitchen.
Ingredients
For the Dough
3 cups [420 g] bread flour
1/4 cup [50 g] granulated sugar
2 1/4 tsp (1 packet) [21 g] instant yeast (see Tips)
1 tsp kosher salt
4 Tbsp [55 g] unsalted butter
1 cup [240 ml] milk
1 egg, beaten
For the Filling
1/2 cup [100 g] packed light brown sugar
1 Tbsp cinnamon
1 tsp ground cardamom
1 tsp lightly packed orange zest
1 1/2 Tbsp unsalted butter, melted
For the Frosting
1/2 cup [60 g] powdered sugar
1 Tbsp milk
1/8 tsp vanilla extract
Directions
Tips
Excerpted from A Couple Cooks: 100 Recipes to Cook Together by Sonja and Alex Overhiser © 2024. Published by Chronicle Books. Photography © Shelly Westerhausen Worcel.
—
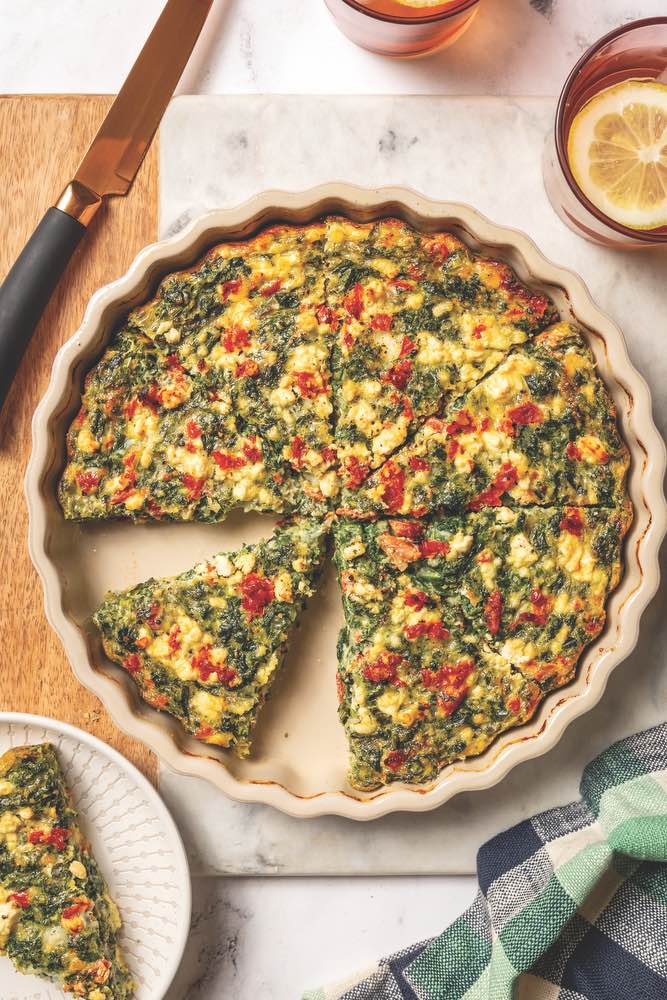
Spinach and Sun-Dried Tomato Crustless Quiche
By Sonja and Alex Overhiser, Founders of A Couple Cooks
Serves 6–8
This crustless quiche is quite the heavy lifter; it works just as well at big family brunches as for make-ahead weekday breakfasts. The savory egg custard is baked without the traditional pastry shell, making it much simpler to whip up. Cottage cheese adds a boost of protein, and the custard is packed with nutrient-dense spinach.
Ingredients
10 oz [280 g] frozen spinach, thawed
6 eggs
1 cup cottage cheese
1/4 cup grated Parmesan cheese
6 tablespoons roughly chopped sun-dried tomatoes, packed in oil
1/2 tsp Italian seasoning or dried oregano
1/4 tsp garlic powder
1/2 tsp kosher salt
Freshly ground black pepper
3 tablespoons feta cheese crumbles
Directions
Tips
Leftover quiche keeps well, and you can eat leftovers cold, at room temperature, or warm. Try it on a sandwich; it’s especially good on bread with Dijon dill spread.
If possible, look for bagged frozen spinach rather than boxed. It thaws easily in a colander under warm water.
Storage
Leftovers will keep, refrigerated, for up to 5 days.
Excerpted from A Couple Cooks: 100 Recipes to Cook Together by Sonja and Alex Overhiser © 2024. Published by Chronicle Books. Photography © Shelly Westerhausen Worcel.
—
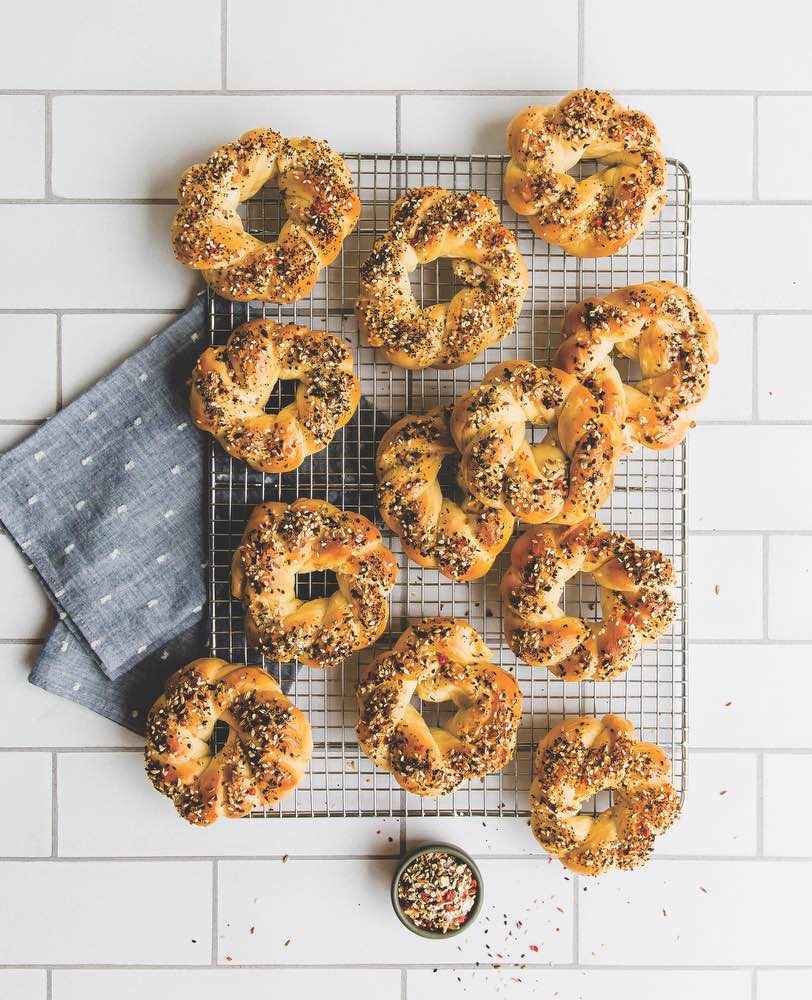
Everything Challah Bagels
By Bebe Black Carminito
Makes 12 bagels
In this fun spin on a classic bagel, challah dough is twisted into a bagel shape and topped with Everything Bagel Seasoning just before baking. Serve the bagels fresh and hot out of the oven or split and toasted with butter, hummus, cream cheese, or fresh chevre. These challah bagels have a lighter and fluffier texture than a classic chewy, dense bagel.
Ingredients
1 package (2 1/4 teaspoons) active dry yeast
1 Tbsp sugar
1 cup warm (110F) water
2 large eggs, at room temperature, lightly whisked
1/3 cup olive oil
1/4 cup honey
1 tsp kosher salt
4 1/2 cups all-purpose flour
1 large egg beaten with 1 teaspoon water, for egg wash
1/4 cup (30 g) Everything Bagel Seasoning
Directions
Baking Tip:
The length of time for proofing dough always depends on the temperature of the room where it is rising. The dough is done proofing when doubled in size and when pressed gently with a fingertip, it holds its shape and doesn’t bounce back or collapse.
Everything Bagel Seasoning
Makes 1/3 cup (45 g)
This may not have everything in it, but it has seeds, herbs, spices, and salt.
Feel free to add your favorites or omit one or more of these ingredients.
1 Tbsp sesame seeds, toasted (see Cooking Tip)
1 Tbsp black sesame seeds
1 Tbsp fennel seeds
1 Tbsp poppy seeds
1 Tbsp dried minced onion
1 tsp dill seeds
1 tsp flaky salt
1/2 tsp pink peppercorns, crushed with a mortar and pestle
1/4 tsp garlic salt
In a small bowl, mix all the ingredients together. Store in a small, airtight jar for up to 6 months.
Tip:
Toasting sesame seeds: Preheat the oven to 350°F (175°5C).
Spread 1/2 cup (60 g) white sesame seeds on a small rimmed sheet pan and toast, shaking the pan halfway through, until lightly golden, about 10 minutes. Be sure to keep your eye on them as they can quickly burn. Let cool completely on the sheet pan set on a wire rack. Transfer to a jar with a tight-fitting lid and store in your pantry.
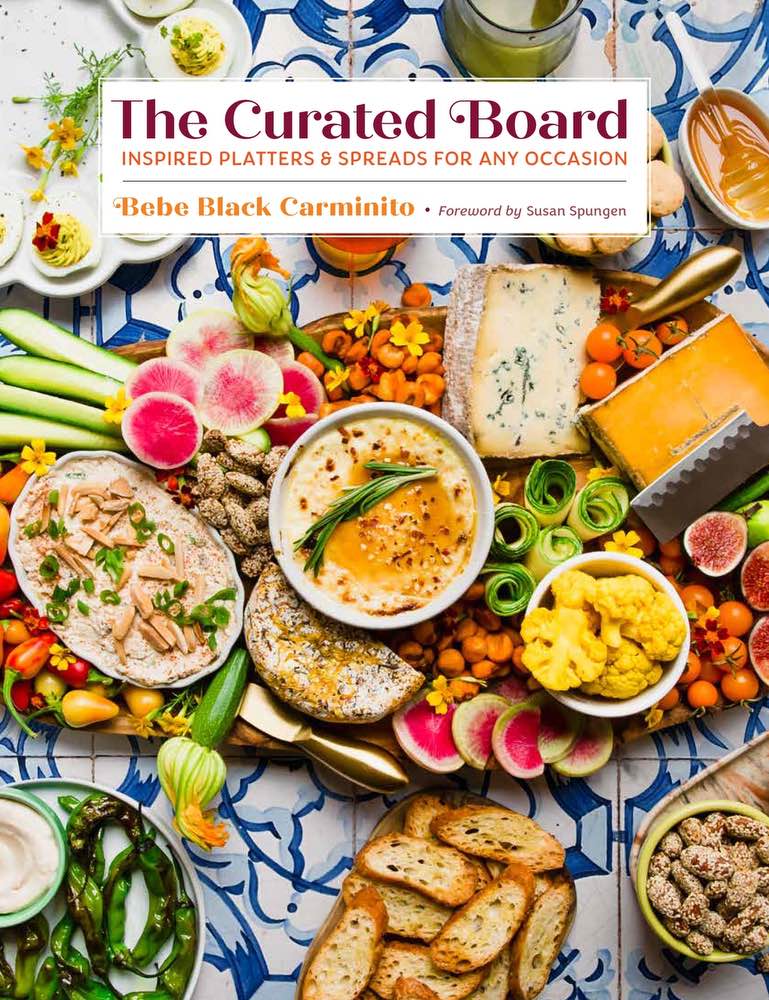
Excerpted from The Curated Board: Inspired Platters and Spreads for Any Occasion © 2024 by Bebe Black Carminito. Photography © 2024 by Marie Reginato. Published in 2024 by Cameron + Company, an imprint of ABRAMS. All rights reserved.
—
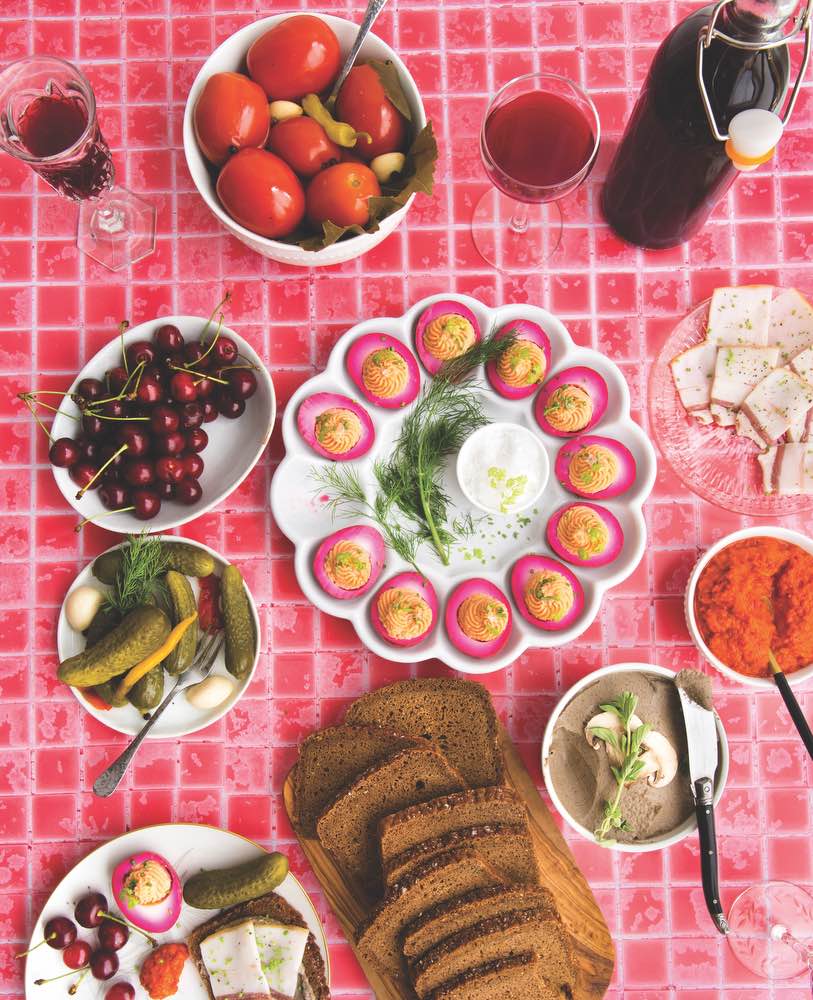
Beet-Pickled Deviled Eggs (Ukrainian Budmo Board)
By Bebe Black Carminito
Serves 4–6
Infused with the piquant kick of horseradish, these eye-catching, magenta-hued eggs are a staple on cookbook author Anna Voloshyna’s table. The striking color is achieved by pickling the eggs in a mixture of beet juice, white vinegar, raw beets, and black peppercorns for up to 3 days. If you can’t find natural beet juice, just use the liquid from a can of cooked beets.
Ingredients
8 large eggs
1 cup (240 ml) natural beet juice
1/2 cup (120 ml) plus 1 tablespoon distilled white vinegar
1/3 cup (45 g) peeled and thinly sliced raw red beet
1 garlic clove
2 Tbsp sugar
2 tsp kosher salt
1/2 tsp black peppercorns
For the Filling
8 hard-boiled egg yolks (above)
1/4 cup (60 ml) mayonnaise
1 Tbsp prepared horseradish sauce
1 Tbsp mustard powder
Kosher salt and freshly ground black pepper
1 Tbsp minced fresh chives, for garnish
Dill and or chervil sprigs, for garnish (optional)
Flaky salt, for sprinkling (optional)
Directions
Excerpted from The Curated Board: Inspired Platters and Spreads for Any Occasion © 2024 by Bebe Black Carminito. Photography © 2024 by Marie Reginato. Published in 2024 by Cameron + Company, an imprint of ABRAMS. All rights reserved.
—
Mushroom & Green Lentil Pȃté (Ukrainian Budmo Board)
By Bebe Black Carminito
Makes 2 cups (480 ml), Serves 6–8
Mushrooms are an important ingredient in Ukrainian cuisine, from soups to savory pies. This mushroom pâté is an elegant vegetarian appetizer for a fancy dinner party. The combination of earthy mushrooms, hearty green lentils, and fragrant shallots is elevated by the addition of Madeira and oregano, resulting in a pâté that is both savory and slightly sweet. Butter and heavy cream give it a richness that pairs perfectly with dark rye bread.
Ingredients
1/3 cup (65 g) French green lentils, rinsed, preferably Puy
1 1/3 cups (315 ml) vegetable stock, plus more if needed
3 Tbsp unsalted butter
1 Tbsp sunflower or canola oil
1 large shallot, coarsely chopped
1 pound (455 g) assorted fresh mushrooms such as cremini, stemmed shiitake, and oyster, cleaned, dried, and coarsely chopped
1/2 cup (120 ml) Madeira
1 tsp chopped fresh oregano
2 Tbsp heavy cream
1/2 tsp kosher salt
Freshly ground black pepper
Directions
Make it beautiful! Save a few thinly sliced raw mushrooms to garnish the top of the pâté, along with a sprig of oregano.
Excerpted from The Curated Board: Inspired Platters and Spreads for Any Occasion © 2024 by Bebe Black Carminito. Photography © 2024 by Marie Reginato. Published in 2024 by Cameron + Company, an imprint of ABRAMS. All rights reserved.
—
Filled Cream Cookies
By Ben Mims
Makes about 48 cookies
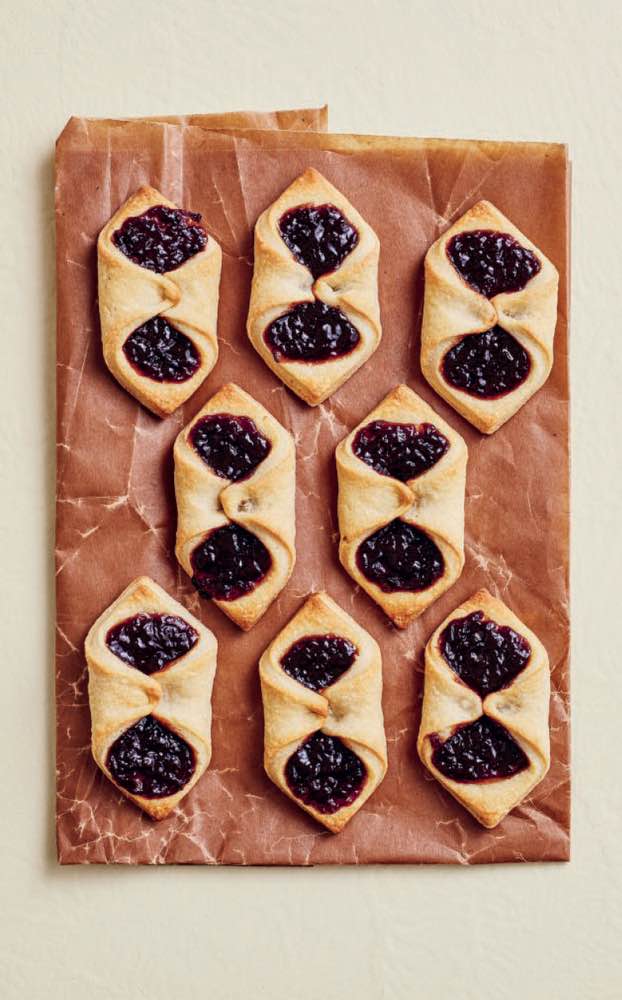
Many cookies derive their name and size from simply being diminutive versions of other, larger cakes and desserts. The Polish kołaczki is most likely one such cookie, derived from the kołocz, a sweetened round bread. Though the name stands for several different types of pastries throughout Poland, the Czech Republic, and Slovakia, this cookie version—made with no yeast in the dough and often shaped into “envelopes” instead of rounds—seems to be mostly associated with Polish baking, while the Czech style of kolache denotes a pastry made with yeasted dough. The two often share similar fillings.
The name derives from the Czech word for “wheel,” and while these cookies exist as rounds, they’re most commonly shaped as the characteristic “envelopes”—meaning a square with two opposing corners folded over to meet in the center. The yeasted pastry is often found in the “wheel” shape. Apricot jam is the simplest filling for these cookies, but if you want, fill them with prune jam, poppy seeds, sweet cheese, or walnuts. While the older versions of these cookies were most likely made with sour cream or another thickened dairy, cream cheese is now the standard for the smoothness and stability it lends to the dough.
Preparation time: 2 hours, plus chilling time
Cooking time: 15 minutes
Ingredients
8 oz cream cheese, softened
2 sticks (8 oz) unsalted butter, softened
2/3 cup powdered (icing) sugar, plus more for dusting
2 tsp pure vanilla extract
1 tsp fine sea salt
3 cups all-purpose (plain) flour
3/4 cup thick prune or apricot jam (see headnote)
Directions
Excerpted from Crumbs © 2024 by Ben Mims. Photography © 2024 by Simon Bajada. Reproduced by permission of Phaidon. All rights reserved.
—
Turkish Shortbread Cookies
By Ben Mims
Makes about 24 cookies
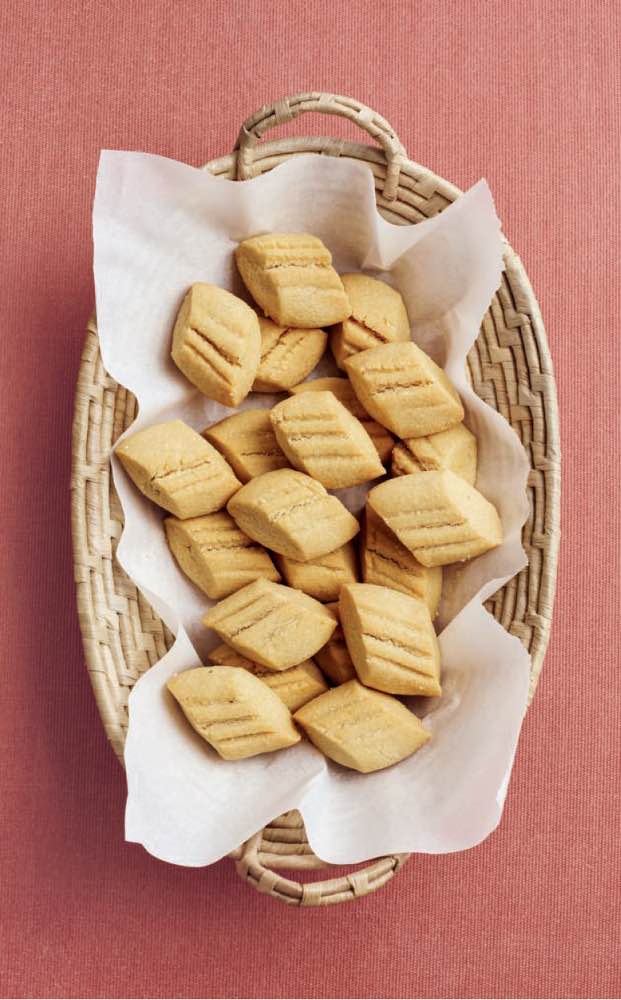
Though they may seem like another simple shortbread cookie, it’s likely this otherwise plain cookie influenced the dozens of “wedding” cookie names to follow, especially given the Ottoman/Turkish influence on its surrounding regions for centuries. Though an Arabic reference is given first, this Turkish cookie—first referenced in the fifteenth century—uses a generous dusting of powdered (icing) sugar on the outside, pointing to it likely being the first “wedding” cookie, too. This influence set off the trend for centuries of giving crumbly cookies, with or without nuts, dusted in fine white powdered sugar, that “wedding” moniker; the Greek kourabiedes chief among them.
These Turkish cookies are, by comparison to their descendants, plainer and consist of a flavoring-free, buttery dough, though many recipes today call for vanilla. They also have a unique shape: Rather than a round mound or disc, the dough is rolled into a log, scraped with a fork to create ridges, and then cut into diamond shapes. Like with most cookies imprinted with a mold or scored lines, the ridges catch plenty of powdered sugar, likely a way to add sweetness to treats before sugar was actually incorporated in the dough (this recipe gives it as an optional step). The cookies are also, like many modern recipes for “wedding cookies,” baked at a low temperature to set the dough without browning it, which would toughen the cookie and take away from its melt-in-the-mouth character.
Preparation time: 30 minutes
Cooking time: 30 minutes
Ingredients
1 cup (225 g) clarified butter or ghee, softened
1 cup (135 g) powdered (icing) sugar, plus more for dusting
1 tsp pure vanilla extract
1 tsp fine sea salt
2 1/2 cups (350 g) all-purpose (plain) flour
Directions
Excerpted from Crumbs © 2024 by Ben Mims. Photography © 2024 by Simon Bajada. Reproduced by permission of Phaidon. All rights reserved.
—
Chocolate Ganache Tart
By Sonja and Alex Overhiser, Founders of A Couple Cooks
Makes One 4-inch [10cm] tart, Serves 2
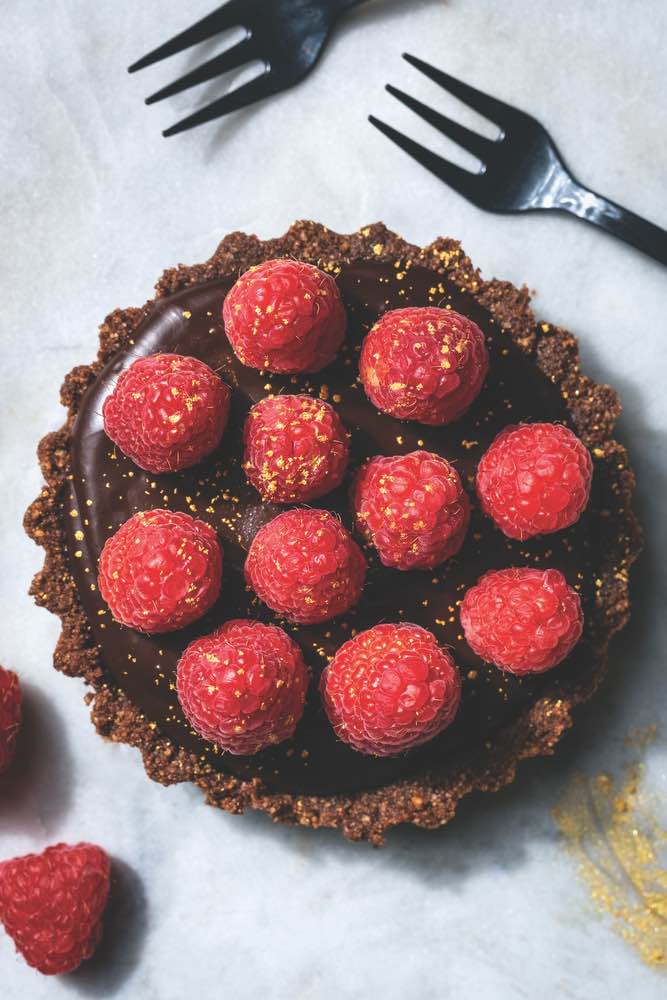
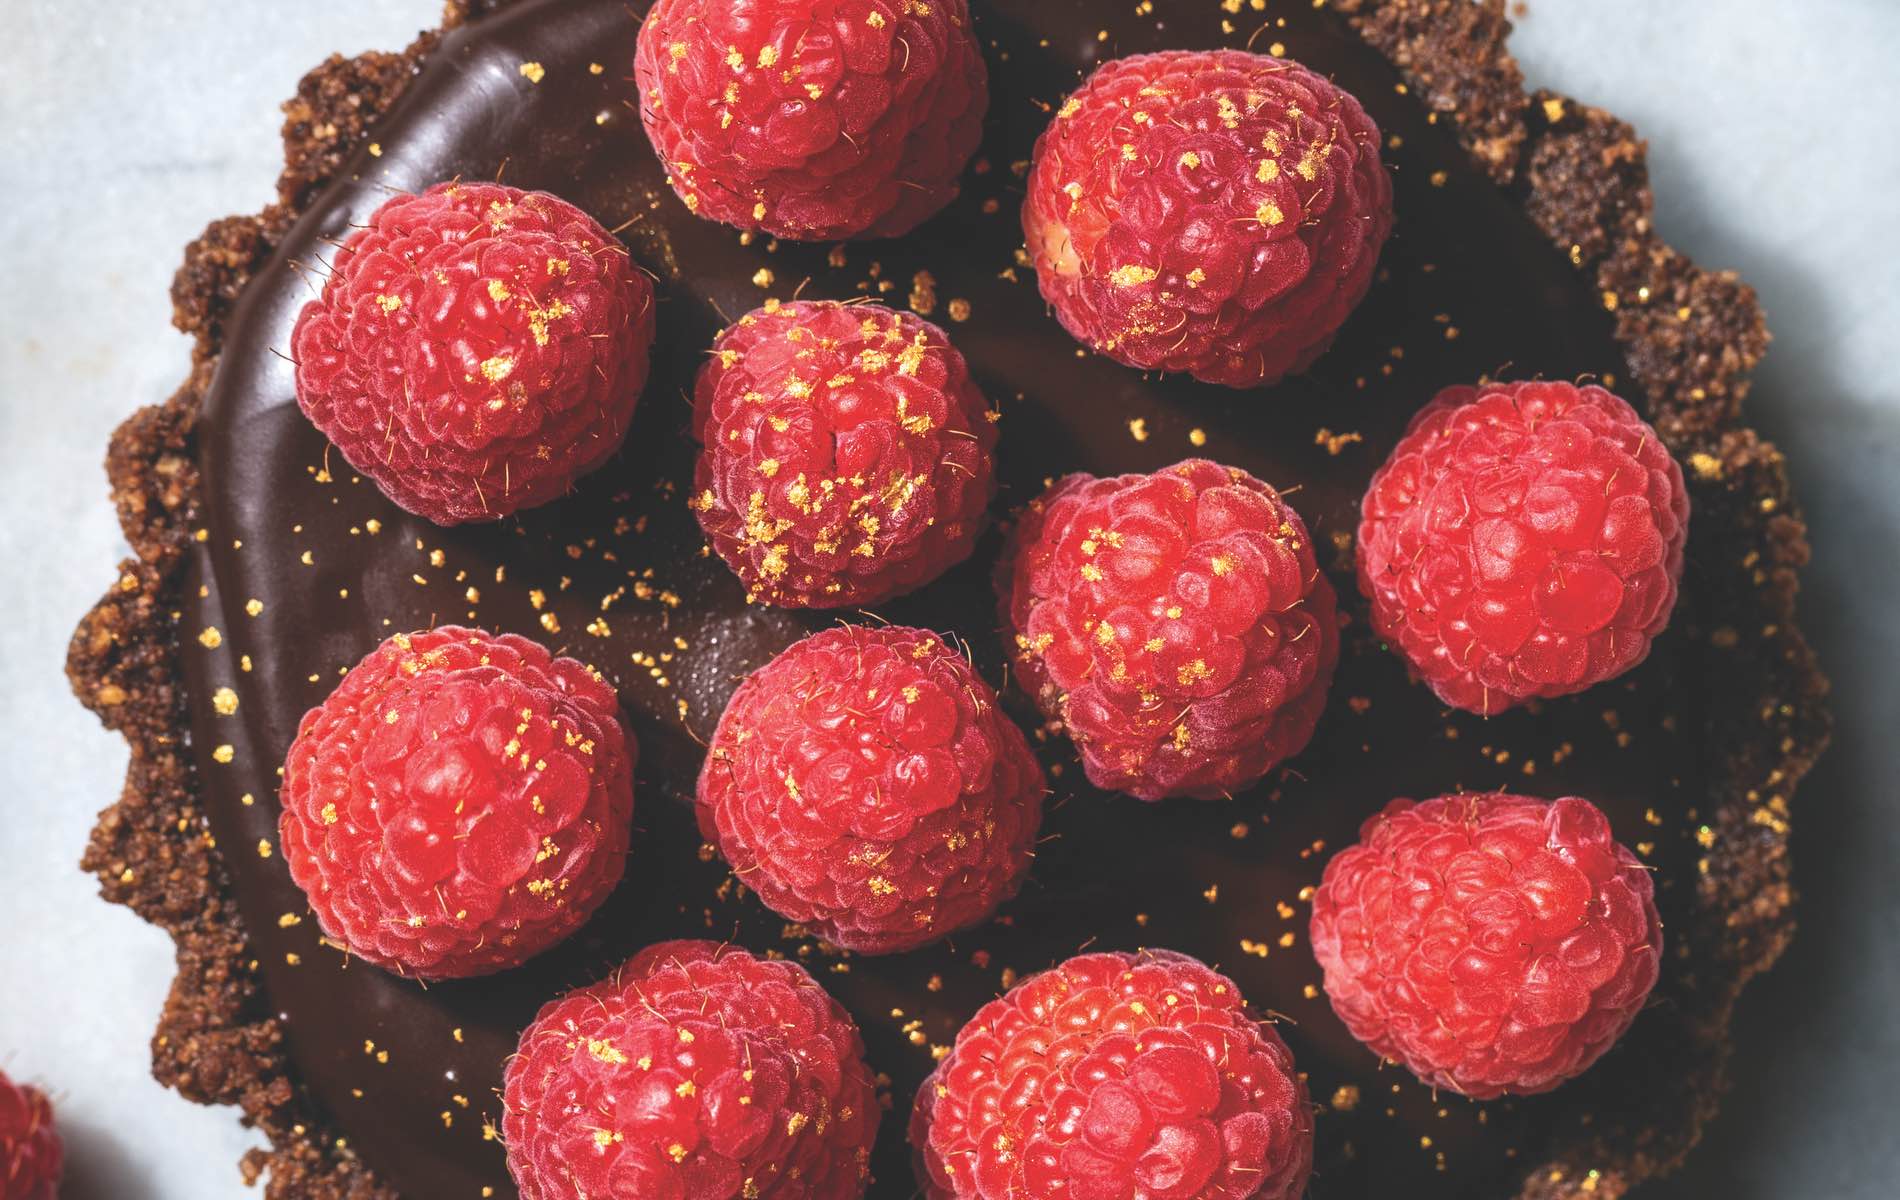
This mini sweet treat is inspired by the glass case at our local pastry shop, where we pick up tiny gold-dusted tarts and colorful macarons for after-dinner treats. Chocolate ganache may sound fancy, but it’s easy to make—just melt chocolate chips with cream for a luscious, glossy filling. Whip up this no-bake dessert before you start the main dish, then let it chill until you’re ready to eat. Edible gold dust is optional, but it sure takes it over the top! The two-serving tart is perfect for date nights, or make the eight-serving version for parties (see Tips).
Ingredients
2 graham cracker sheets
(1 oz [30 g])
1 tsp cocoa powder
1 tsp granulated sugar
1/4 tsp ground cinnamon
1/4 tsp ground cardamom
1 1/2 Tbsp salted butter, melted, plus more for greasing
3 Tbsp best-quality semisweet
or dark chocolate chips
2 Tbsp heavy cream
1/2 tsp vanilla extract
Fresh raspberries and edible gold dust or powdered sugar (optional), for garnish
Directions
Tips
Keep the chocolate on low heat and stir very slowly: This makes a smooth ganache with no air bubbles. Be careful not to overheat the ganache, which can cause it to seize and separate.
Look for a 4-inch [10 cm] mini tart pan with fluted edges and a removable bottom. You can also make eight servings in an 8-inch [20 cm] tart pan (see below). Both sizes are easy to find online.
Ground cardamom adds subtle floral notes to the crust. Don’t neglect this lovely spice. Use it in our mini cardamom cinnamon rolls, too!
Want to make this for a party? Multiply the ingredients by 4 and make it in an 8 in [20 cm] tart pan (the crust will come about halfway up the sides). Ingredients are as follows:
8 graham cracker sheets
1 1/2 Tbsp cocoa powder
1 1/2 Tbsp granulated sugar
1 tsp cinnamon
1 tsp cardamom
6 Tbsp [85 g] salted butter
3/4 cup [135 g] chocolate chips
1/2 cup [120 ml] heavy cream
2 tsp vanilla extract
Wine Pairing
Elevate this treat with a pour of a tawny port. Its rich, nutty undertones highlight the luscious chocolate ganache.
For Vegans
Use vegan butter and substitute full-fat coconut milk for the heavy cream. Use dark chocolate chips marked “dairy-free.”
Storage
The tart will keep, if refrigerated, for up to 3 days.
Excerpted from A Couple Cooks: 100 Recipes to Cook Together by Sonja and Alex Overhiser © 2024. Published by Chronicle Books. Photography © Shelly Westerhausen Worcel.
— V —
Share This Story!
KEEP UP WITH THE LATEST STORIES FROM VIE


