VIE_Magazine_APR23_article_Spring_Recipes_HERO-min
A Spring Picnic
Recipes to Enjoy Together
Spring has sprung! As we enjoy warmer temperatures, fresh blooms, and blue skies, spring invites us to immerse ourselves more fully in nature. Whether you’re picnicking on the lawn or gathering on the front porch with friends and family, this recipe roundup is guaranteed to help you set your table (or blanket!) with spring’s finest flavors. VIE asked our favorite fresh foodies what’s gracing their menus this season, and they kindly shared some go-to favorites. The following recipes include dreamy treats spotlighting lemon and rose, vibrant main dishes like BBQ mushroom sandwiches and roasted cauliflower salad, and more featuring the freshest local and seasonal produce. Remember to follow these creators on social media and tag us @viemagazine while stirring up these spring specialties in the kitchen. Bon appétit!
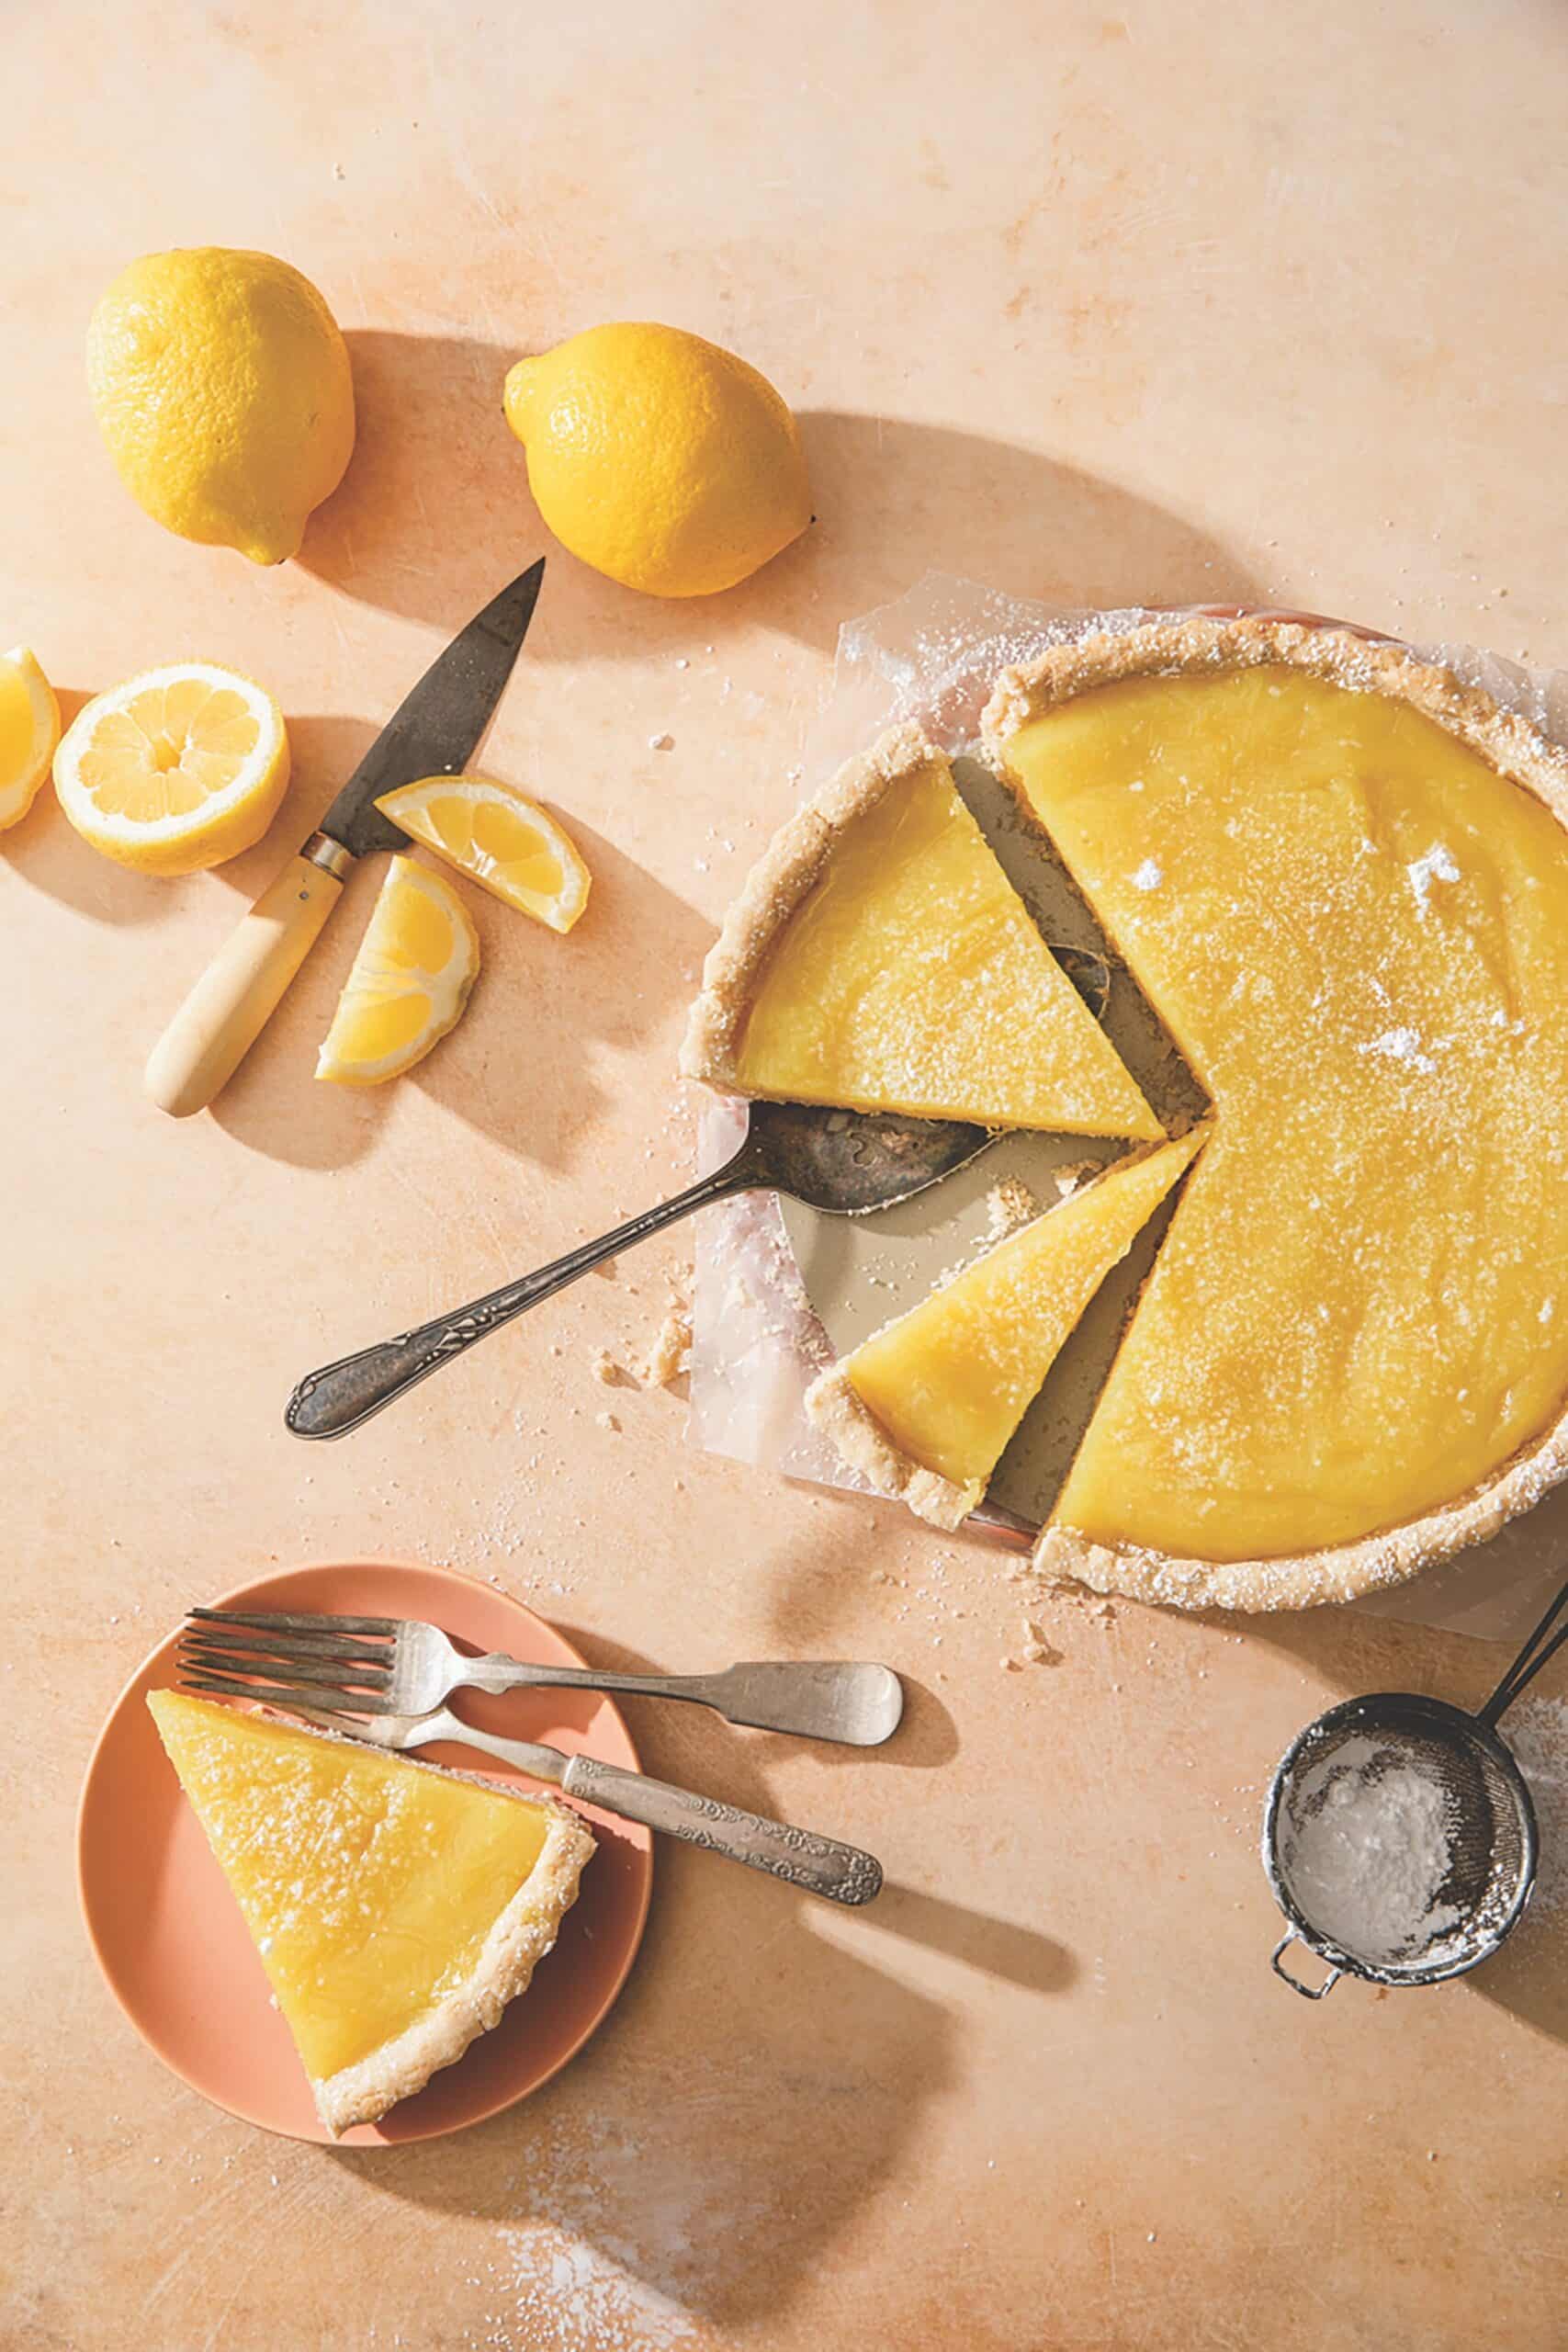
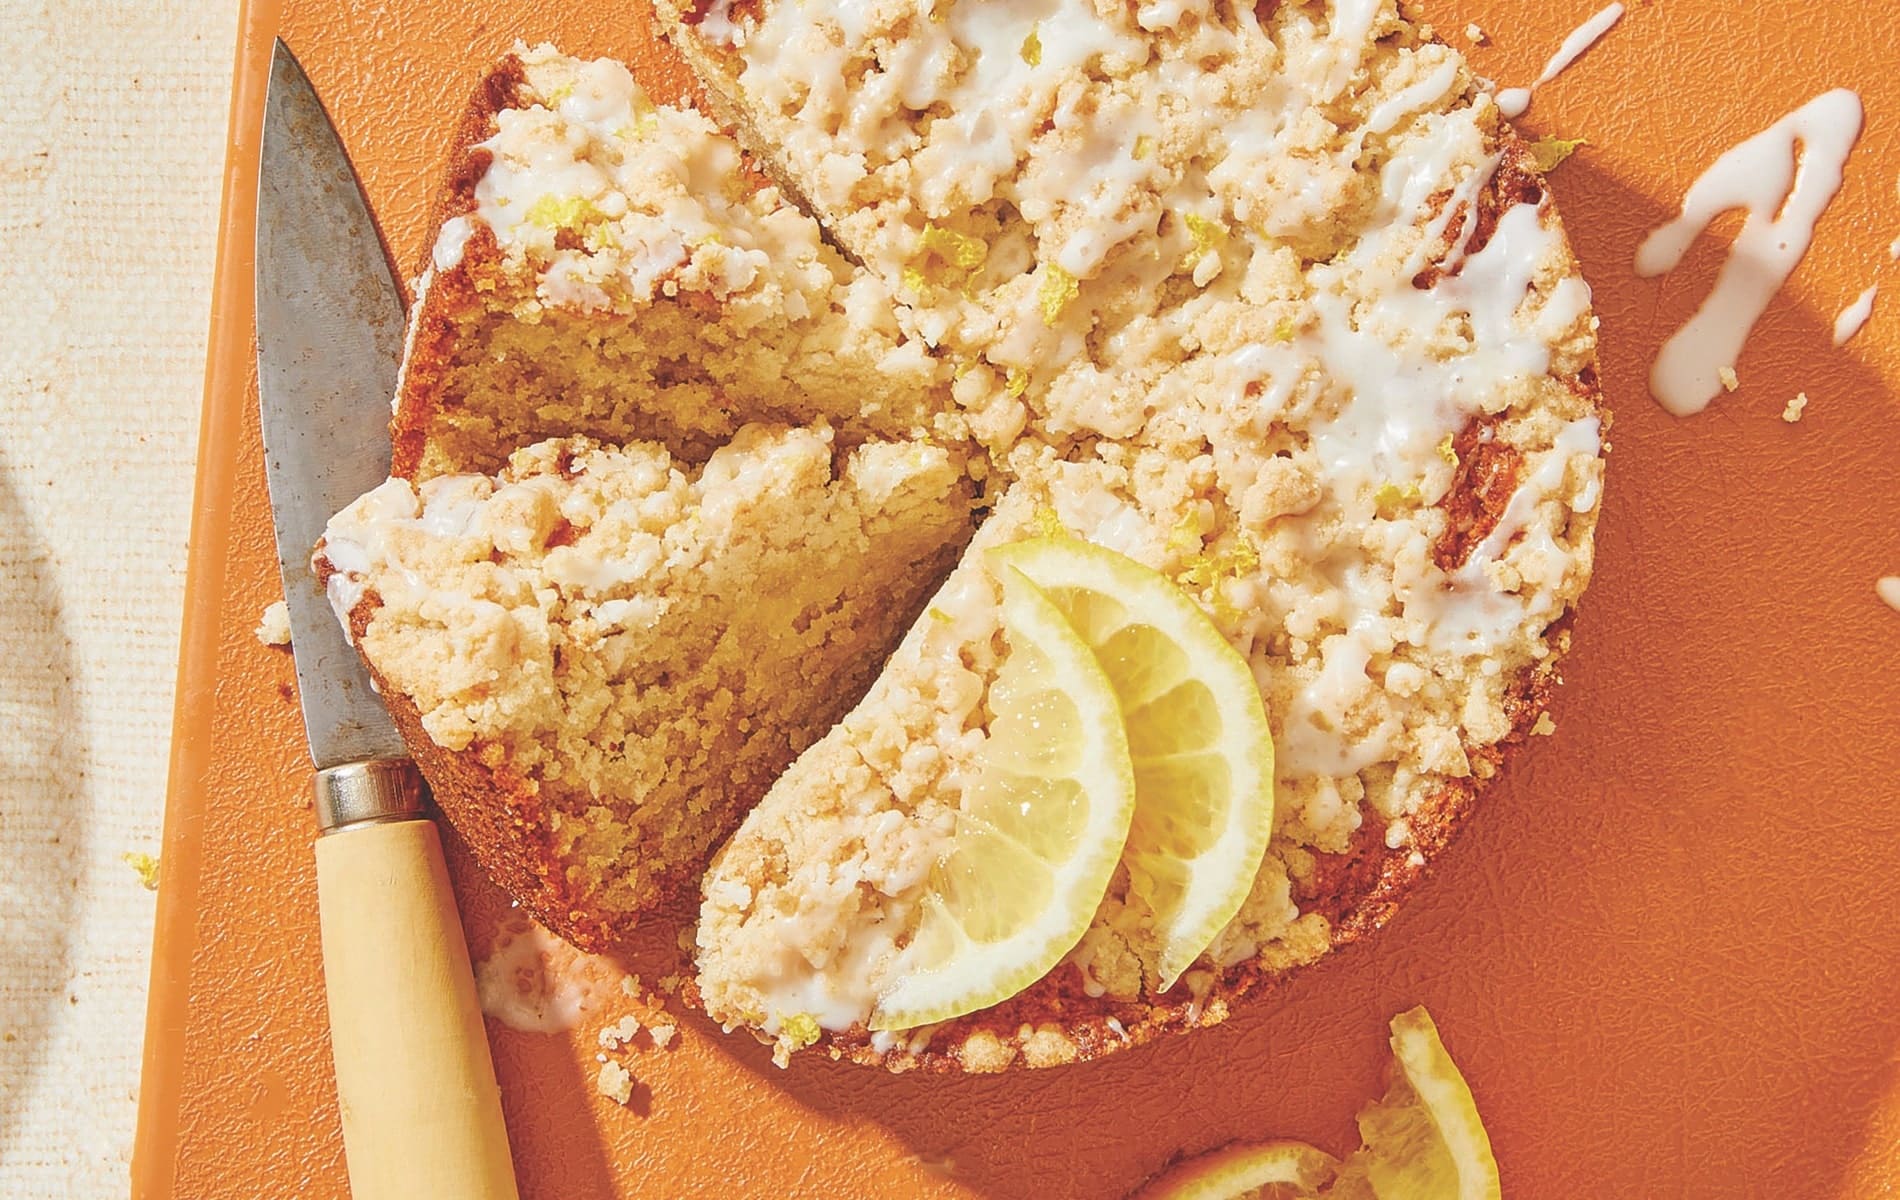
Easy Vegan Lemon Crumb Cake
By Ciarra Siller | Peanut Butter Plus Chocolate
A perfect breakfast cake to enjoy with coffee or a sweet treat to end the day!
Serves 6 to 8
Ingredients
LEMON CAKE
- 1 cup all-purpose flour
- 1 tbsp tapioca flour or cornstarch
- 1/2 cup organic cane sugar
- 1 tsp baking powder
- 1/2 tsp baking soda
- 1/8 tsp sea salt
- zest from 1 lemon
- 1/4 cup almond milk or plant milk of choice
- 1/4 cup lemon juice
- 1/4 cup unsweetened applesauce
- 1/4 cup coconut oil
- 1 tsp vanilla extract
CRUMBLE TOPPING
- 1/2 cup all-purpose flour
- 1/4 cup organic cane sugar
- 1/3 cup cold vegan butter, chopped
- 1/4 tsp fine sea salt
- LEMON GLAZE
- 1/3 cup organic powdered sugar
- 1 tbsp almond milk
- 1 tbsp lemon juice
Directions
Preheat the oven to 350°F and prepare a 6-inch (3-inch deep) round cake pan with non-stick spray. In a mixing bowl, stir together the flour, tapioca or starch, sugar, baking powder, baking soda, salt, and zest. Add in the almond milk, lemon juice, applesauce, coconut oil, and vanilla extract and stir using a rubber spatula until no dry spots remain.
Place all the crumble ingredients into a food processor and pulse until everything is well combined and crumbles form. Transfer the batter to the pan and top with crumbles. Bake the cake for 35 to 40 minutes until cooked through and topping is golden. Remove from the oven and let cool. Stir together the glaze ingredients and drizzle over the cake.
This cake will keep at room temperature in a lightly covered container for up to 2 days or in the refrigerator for up to 5 days.
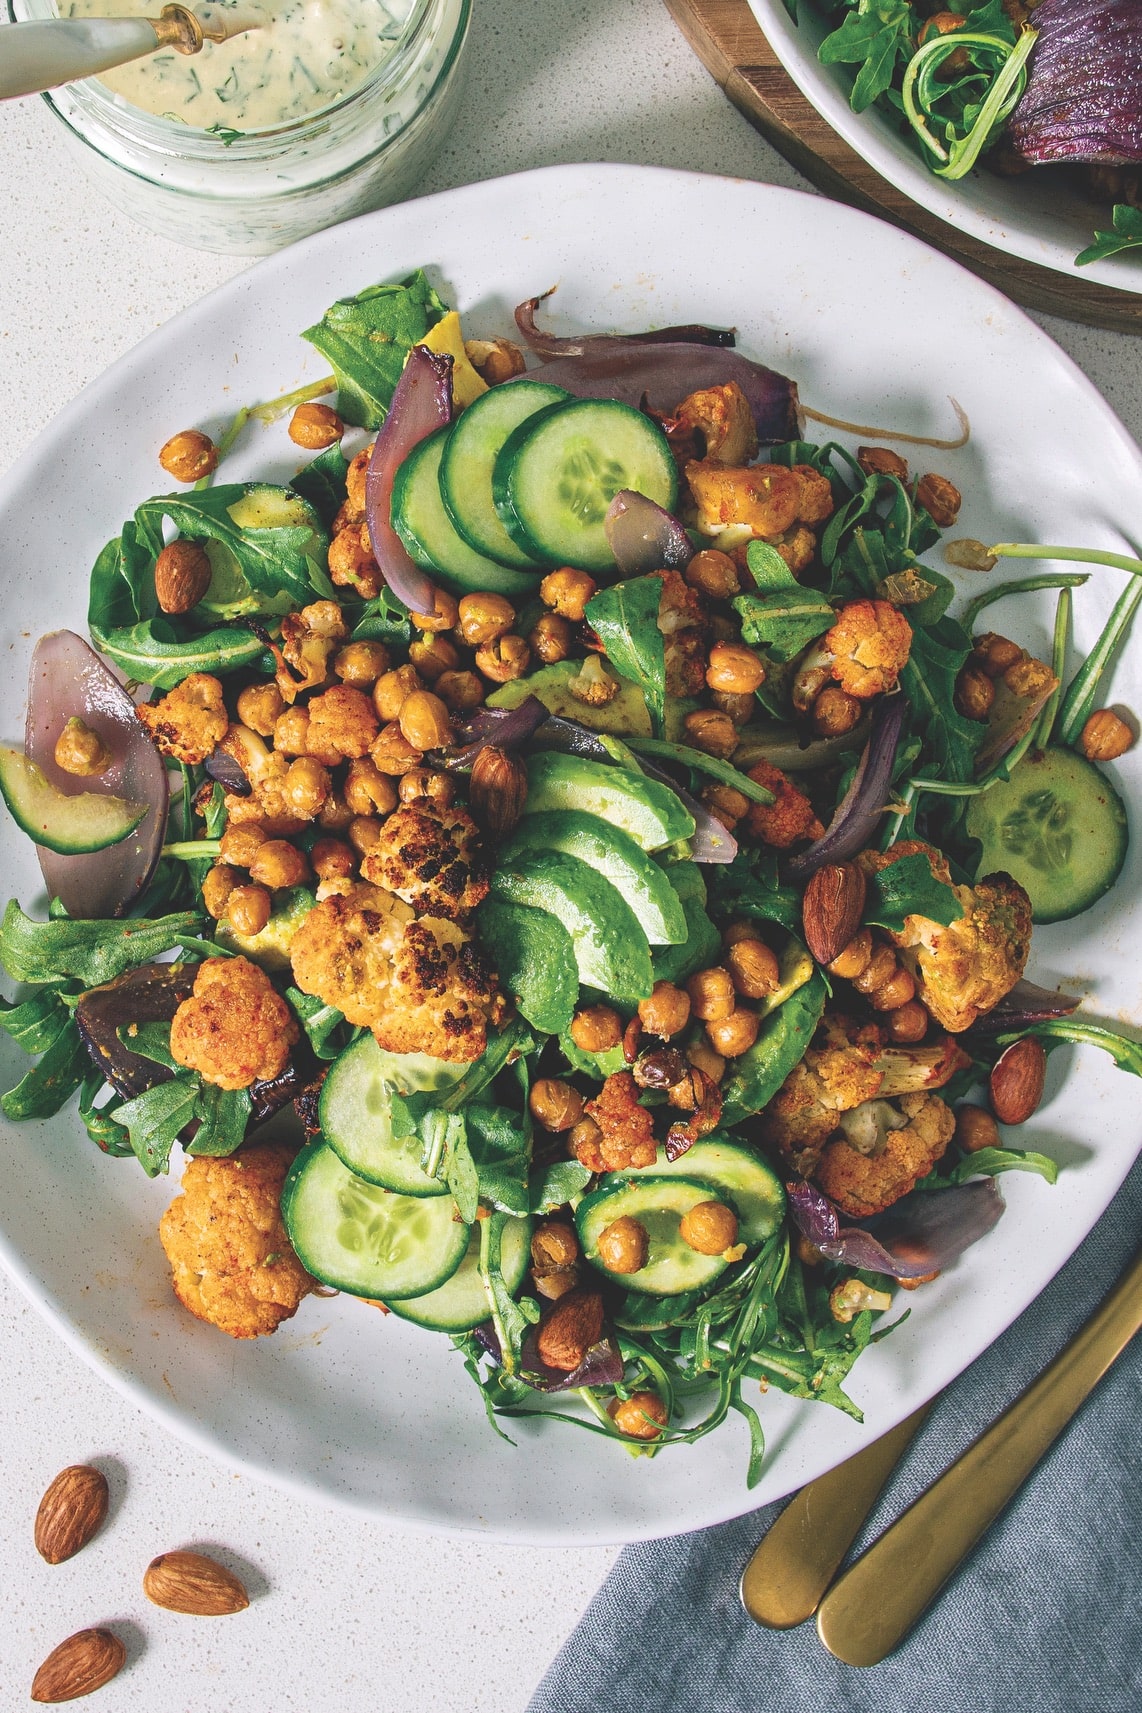
Roasted Cauliflower Salad with Healthy Ranch Dressing
By Sarah Cobacho | Plantbaes
“The roasted cauliflower is so flavourful and pairs perfectly with the homemade ranch dressing,” Cobacho says. “Plus, it’s packed with healthy and nourishing ingredients that make it not only delicious but also good for you. It’s equally suitable to pack in your lunchbox or completely wow your guests. Talk about versatile!”
Serves 2
Ingredients
- 1/2 cauliflower head, chopped in florets
- 1 red onion, chopped in quarters
- 1.5 cup chickpeas
- 1 tsp cumin
- 1 tsp smoked paprika
- 1 tsp garlic powder
- dash salt
- 1 + 0.5 tbsp olive oil
- 2 tbsp toasted almonds
- 1/2 avocado, diced
- 1 small cucumber, diced
- 2 cups arugula
RANCH DRESSING
- 1/4 cup cashews
- 2 tbsp lemon juice
- 1 tsp onion powder
- 1/2 cup soy milk
- 2 tbsp fresh dill, finely chopped
- 2 tbsp fresh parsley, finely chopped
- 1 tsp dry chives
- 1 garlic clove, minced
- 2 dash black pepper
Directions
Preheat the oven to 410°F. Cover the cashews in boiling water for 30 minutes. Drain.
In a bowl, add the cauliflower, 1 tbsp olive oil, cumin, smoked paprika, and a dash of salt. Mix until thoroughly coated. Transfer to an oven-safe dish. Cook for 30 minutes.
Mix the chickpeas, red onions, 0.5 tbsp olive oil, and garlic powder. Cook in the oven for 20 minutes. In a blender, add the soaked cashews, lemon juice, onion powder, and soy milk. Blend until smooth. Mix in the dill, parsley, garlic, chives, and black pepper. Stir until thoroughly combined.
In a large serving bowl, add the arugula, roasted cauliflower, red onions, chickpeas, cucumber, and avocado. Drizzle with ranch dressing and enjoy!
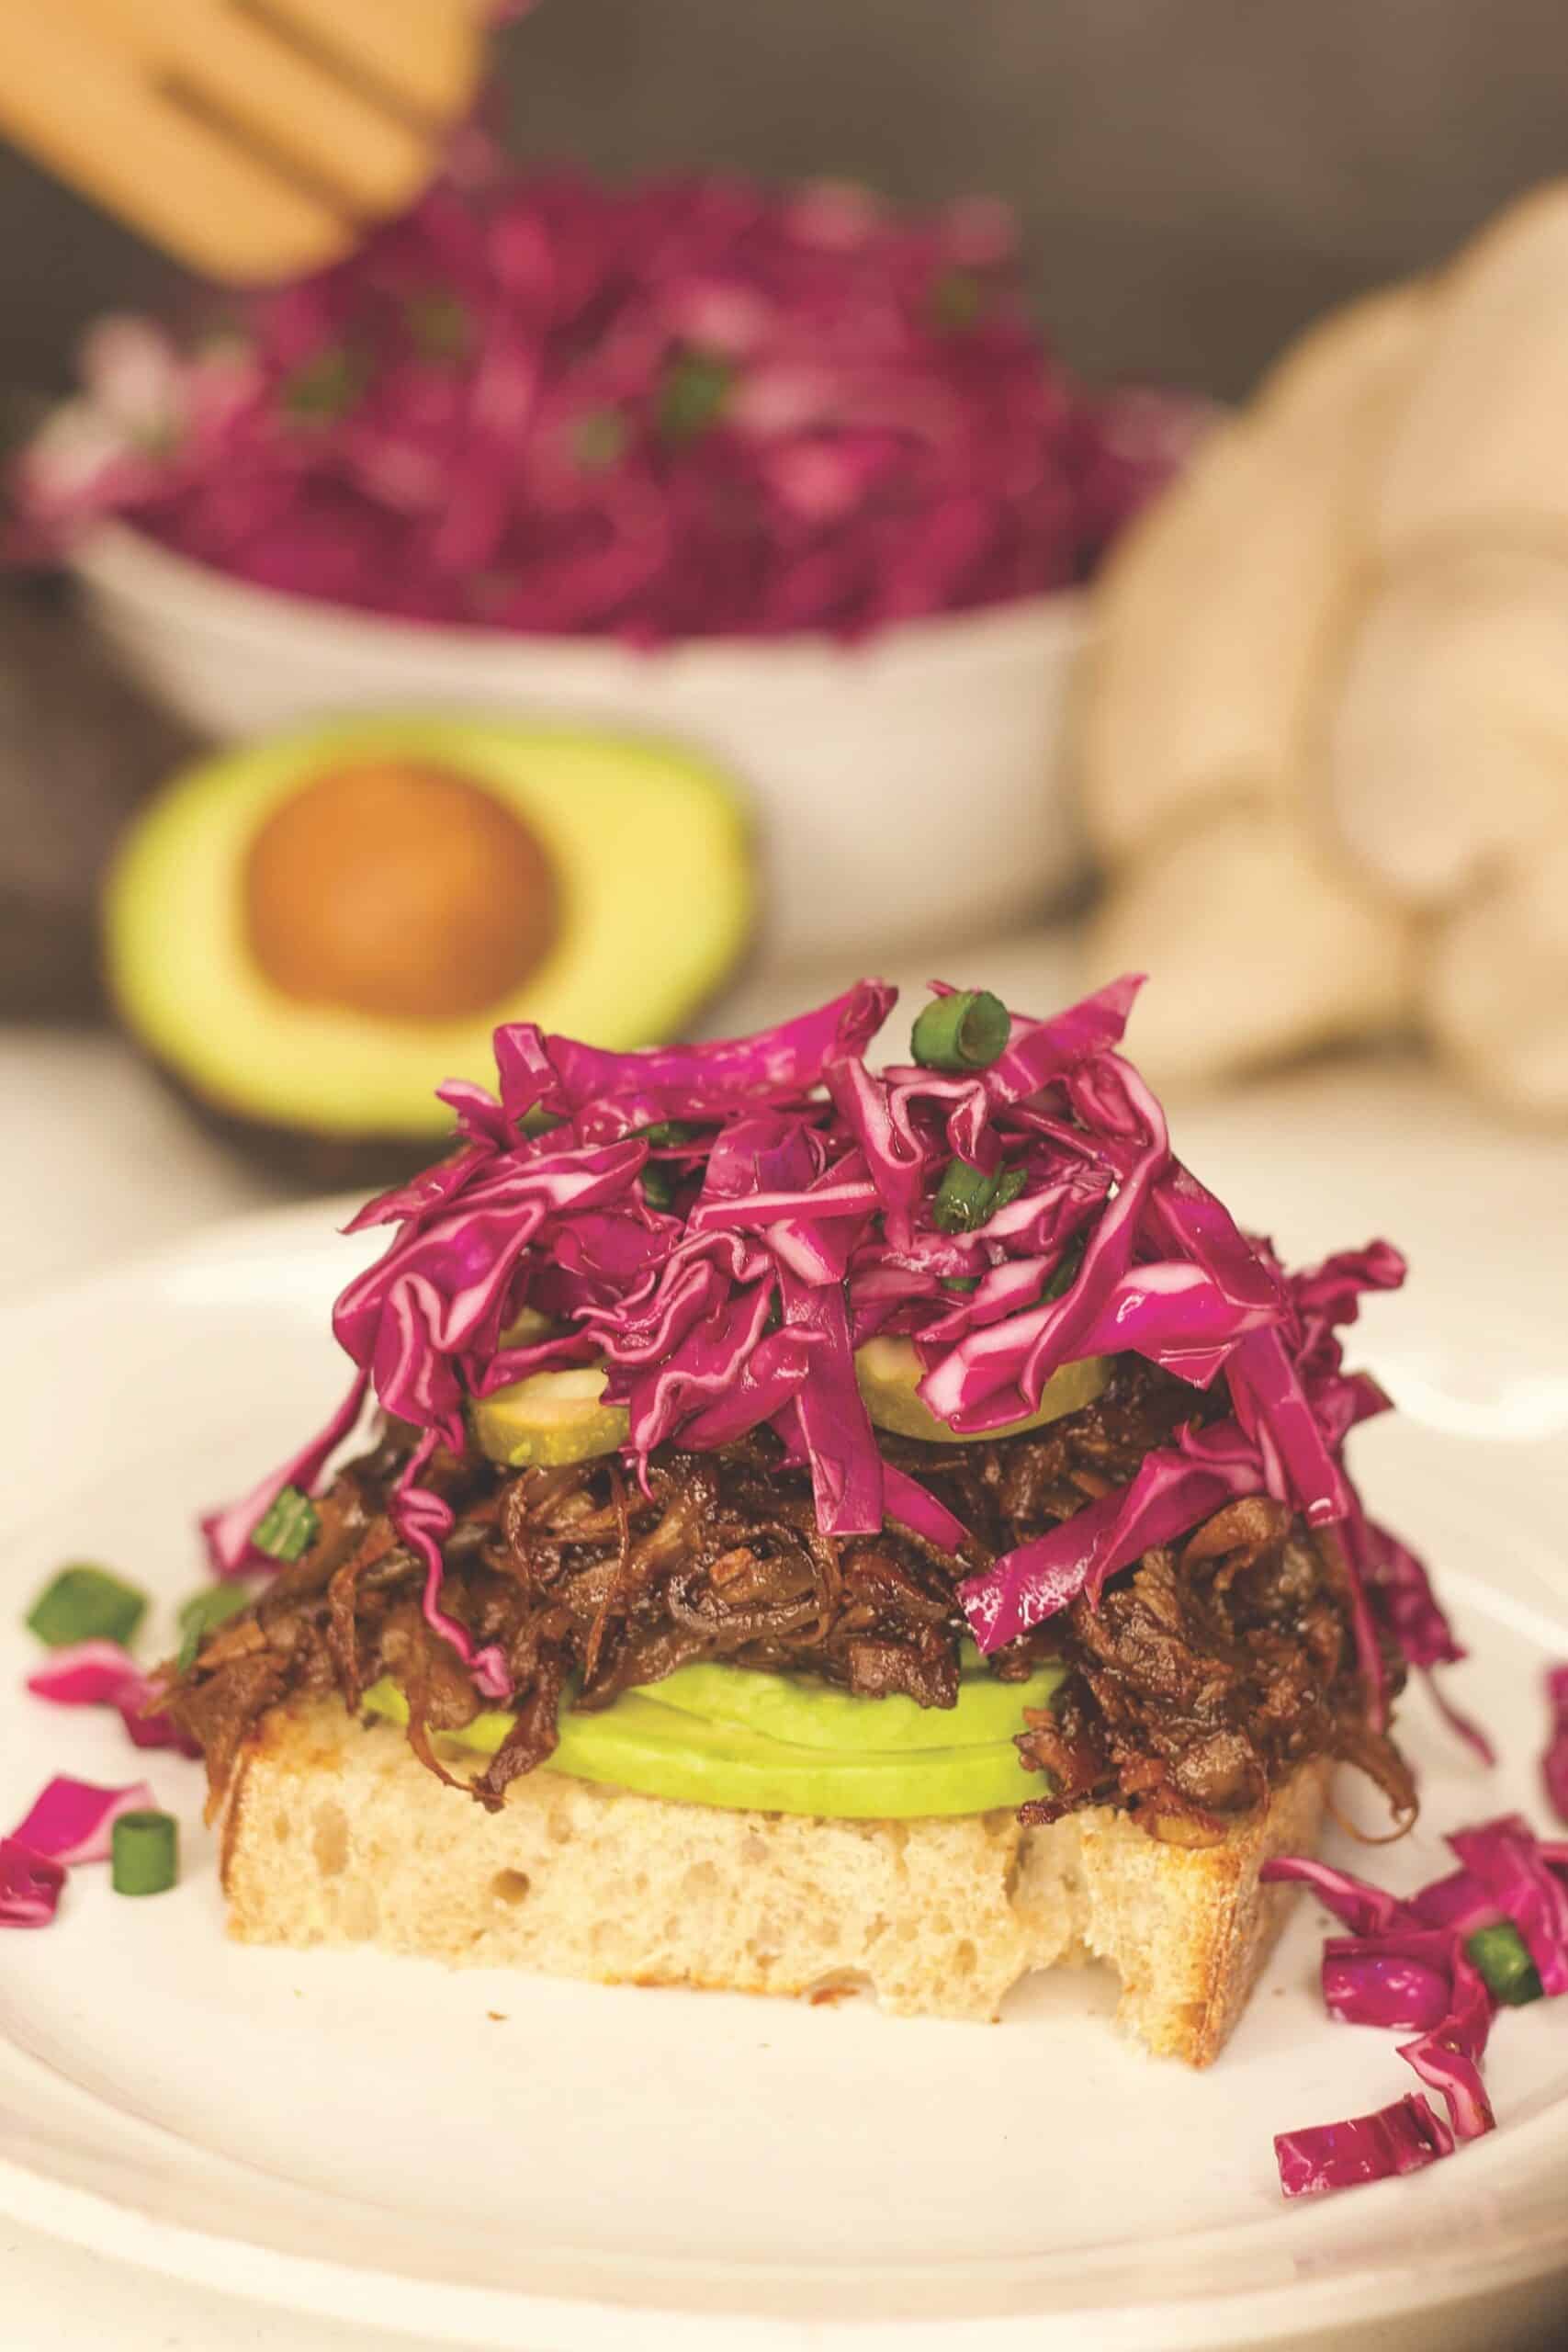
Juicy Pulled BBQ Mushroom Sandwiches
By Sophia Victoria Vegan | SophiaVictoriaVegan.com
“Savory, tender mushrooms are cooked to perfection in a quick and flavorful homemade barbecue sauce, making it the perfect pulled pork alternative,” says Sophia. “Served on warm toasted sourdough with crunchy cabbage slaw, pickles, and creamy avocado. Take your spring and summer cookouts to the next level!”
Serves 2–4
Ingredients
- 4–6 oyster mushrooms, shredded (I used local mushrooms from my friends over at Vale Of Paradise Mushrooms!)
- Sliced and toasted sourdough bread or buns of choice (I used my favorite sourdough from a local favorite, Black Bear Bread Co.)
- Sliced dill pickles
- 1 ripe avocado
BBQ SAUCE
- 2 garlic cloves minced OR 1 tsp garlic powder
- 1/3 cup tomato paste OR ketchup
- 1/4 cup molasses
- 2 heaping tbsp pure maple syrup
- 2 tbsp vegan Worcestershire sauce
- 2 tbsp apple cider vinegar
- 2 tbsp soy sauce
- 1 tbsp dijon mustard
- 1 heaping tsp smoked paprika
CRUNCHY CABBAGE SLAW
- 1/2 large head of purple cabbage
- 3 green onions
- 3 tbsp red wine vinegar
- 1-2 tbsp maple syrup
- 3/4 tsp salt
Directions
Shred the mushrooms, pulling them apart with your hands or using a fork. Add all of the sauce ingredients to a small bowl and whisk. Pour the sauce over the shredded mushrooms, toss to coat, then spread thinly across a parchment paper-lined baking sheet. Bake at 400°F for 20 minutes or until bubbly and browned around the edges, stirring halfway through.
Make your crunchy cabbage slaw: Thinly slice the cabbage. Chop green onions. Add to a bowl with the red wine vinegar, maple syrup, and salt and pepper to taste. Refrigerate until ready to build your sandwiches.
Build your sandwiches: Toast the bread and slice the pickles and avocado. Spread avocado onto your bread, line with pickles, and pile on the BBQ mushrooms. Top with the cold crunchy cabbage and enjoy open-faced or with a top bun!
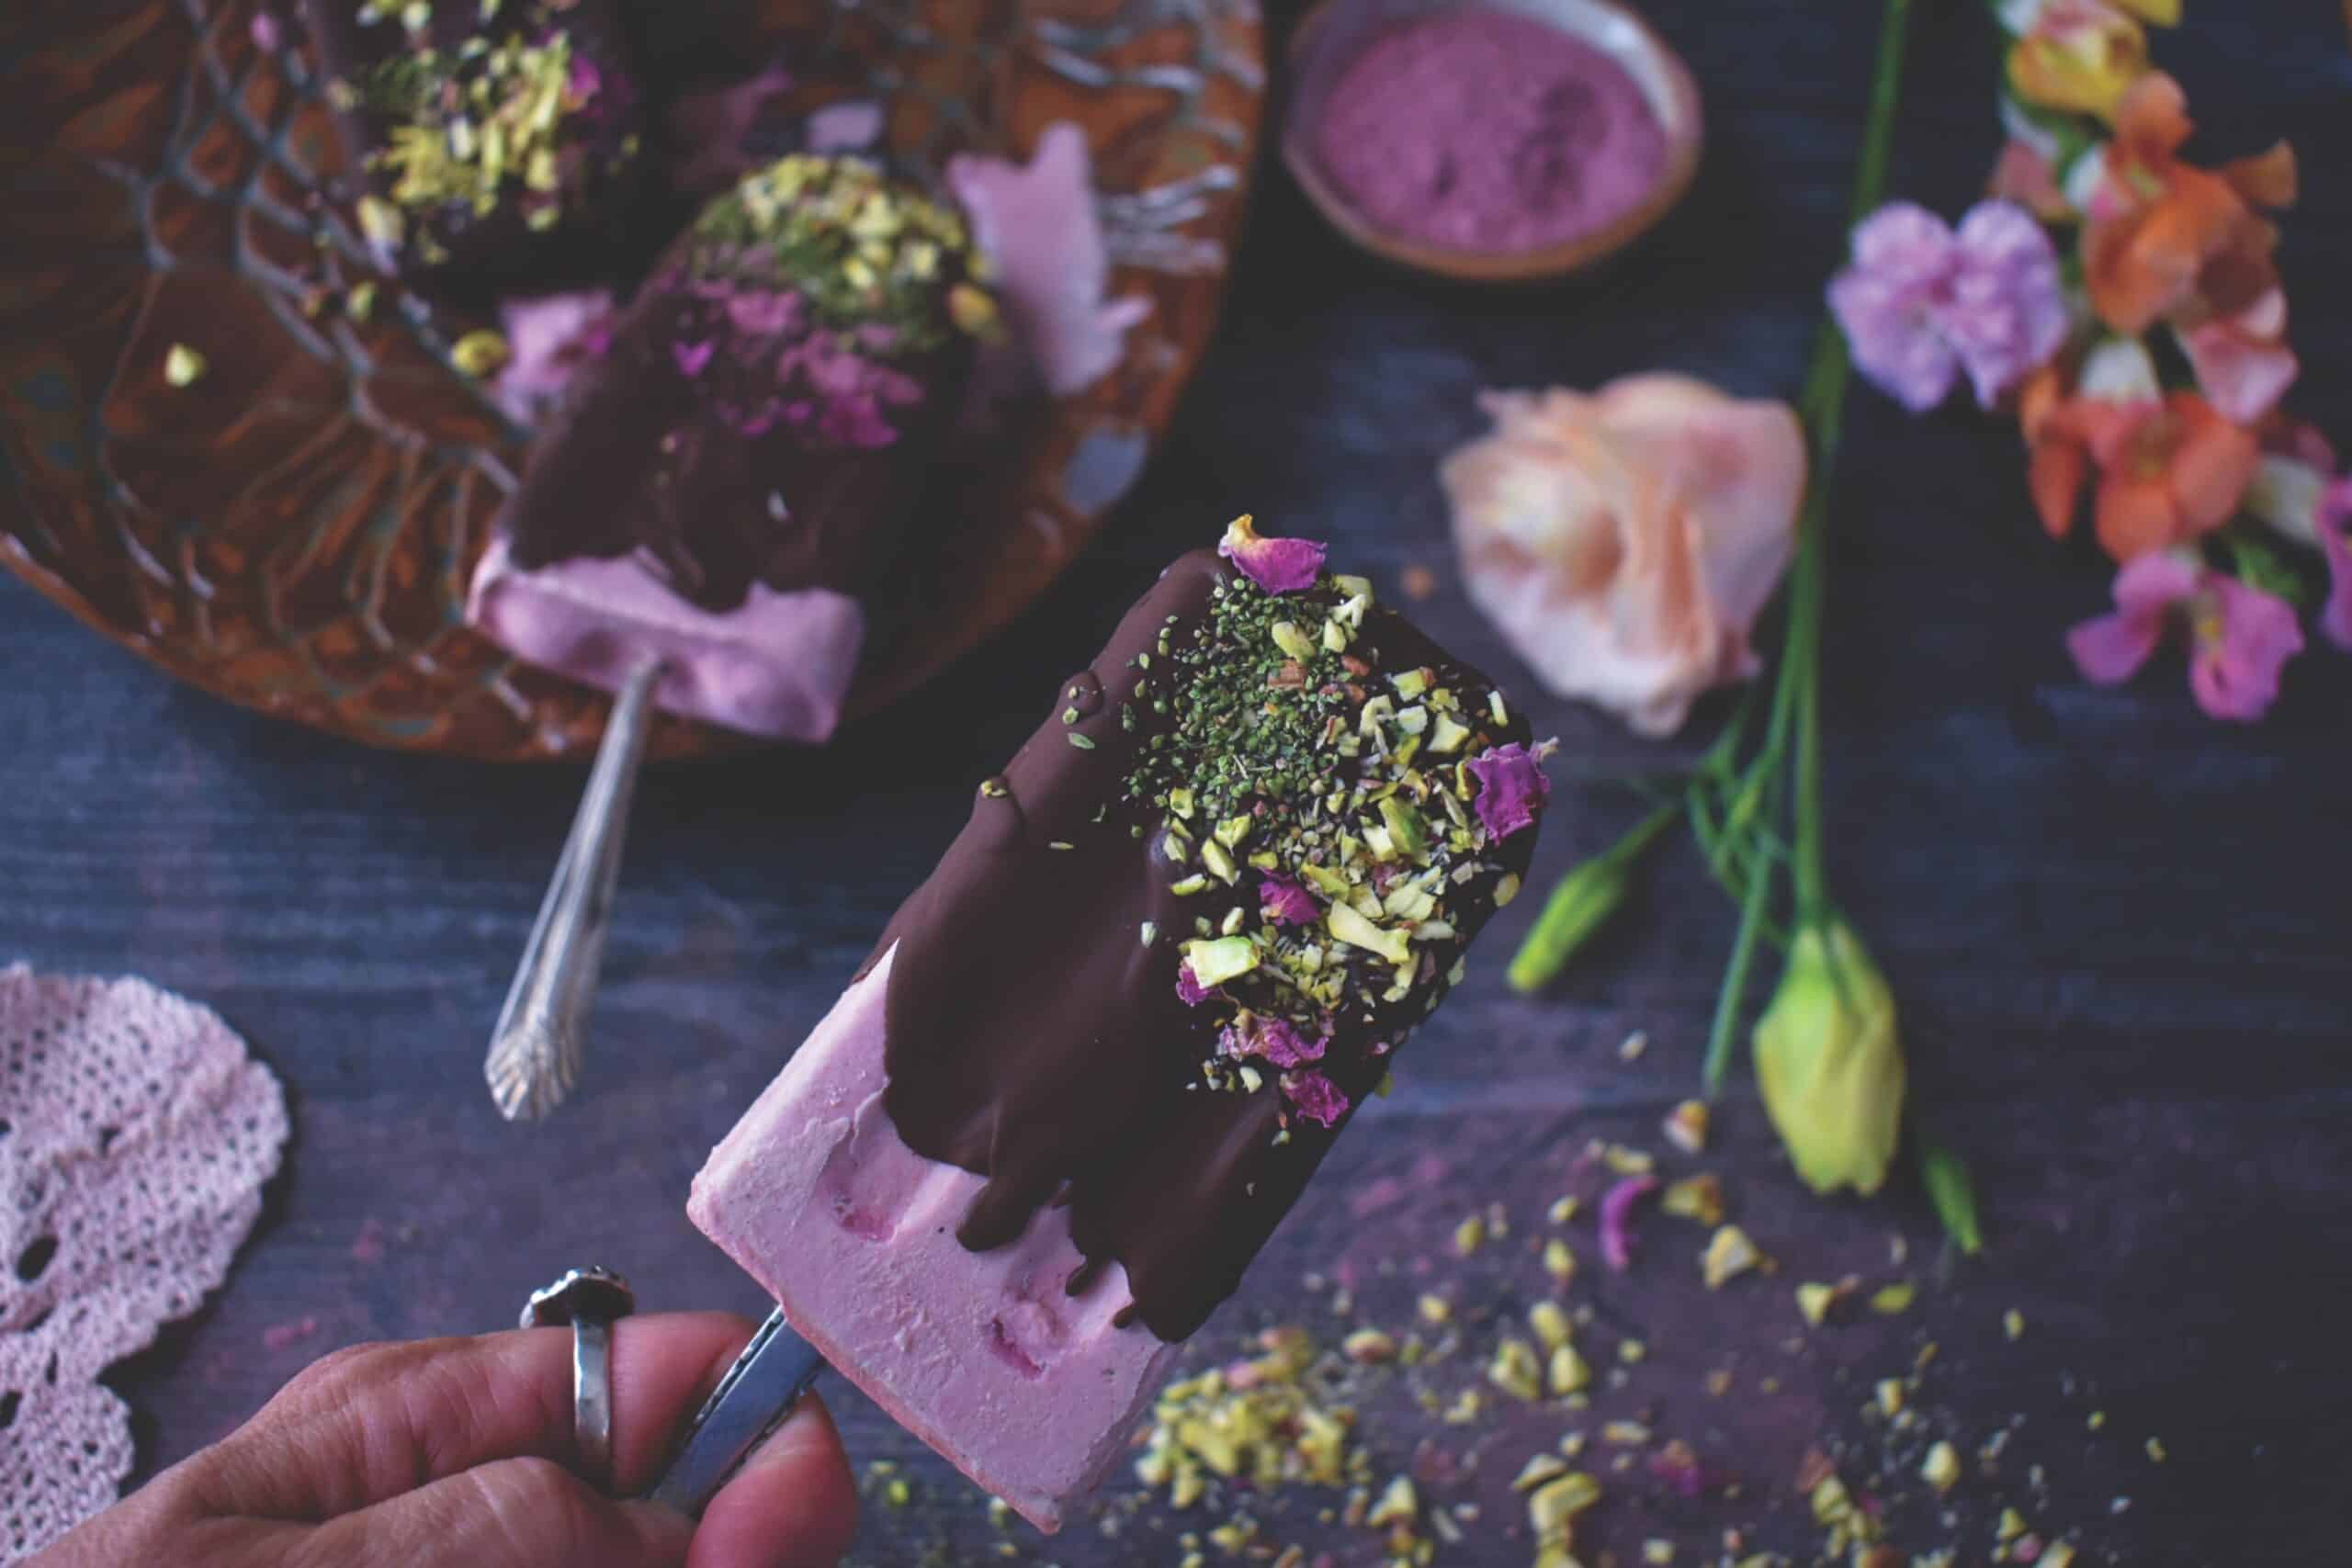
Rose Petal Dreamsicles
By Tara Lanich-LaBrie | The Medicine Circle
“These are a creamy, lightly sweet treat with the magic of rose petals enrobed in chocolate,” Tara shares. “I was daydreaming of chocolate-shelled ice creams I ate as a kid and imagined the heart-opening addition of wild rose balanced with crunchy pistachios and energizing nettle seeds. Roses are a cooling, astringent flower, high in beneficial tannins, well-matched with the crisp bite of dark chocolate and the sweetness of coconut cream.”
Makes 4 Standard-Sized Popsicles
Ingredients
ICE CREAM
- 1 can full-fat coconut milk
- 1 tbsp honey or sweetener of choice
- 1-1/2 tbsp rose petal powder
- 1/2 tsp vanilla extract
- 1 tbsp beet juice for color (optional)
CHOCOLATE SHELL
- 2 tbsp pistachios, chopped
- Sprinkle of dry rose petals (You can buy powdered rose petals or grind up your own dried rose petals in a coffee or spice grinder.)
- 1/2 cup 72% dark chocolate, chopped
- 2 tbsp coconut oil
- 1/2 tsp nettle seeds
Directions
In a small pan on the stove, heat the coconut milk. Whisk in the honey or sweetener of your choice and turn off the heat, making sure the sweetener is fully dissolved. Once the honey is dissolved, add the rose powder and vanilla, whisking until mixed well. Stir in beet juice if you’re using it. Pour the milk mixture into popsicle molds and place in the freezer until solidly frozen, about 1 to 2 hours.
Once frozen, prepare a parchment-lined plate and prep the chocolate shells. Ready your chopped pistachios, seeds, and rose petals for decorating the outside because the shell will harden quickly. Then make a double boiler, a Bain Marie, with a heat-safe bowl and a medium/small saucepan. Place the saucepan on the stove, half-filled with water. Bring to a low boil and place the heat-safe bowl on top; make sure the bowl is not touching the water. Combine the dark chocolate and coconut oil in the bowl and stir until melted. Remove the bowl from the saucepan.
Take out one popsicle at a time from the freezer and use a large spoon to pour the melted chocolate over the popsicle. Sprinkle the pistachios and other toppings on quickly and place the popsicle on your parchment-lined plate as you work. Put the plate with the popsicle back in the freezer and repeat this step as you make each popsicle. You can save the chocolate in the refrigerator for up to a month and reheat it for a later batch if you have extra. Let the popsicles rest in the freezer for at least 10 minutes to harden the shells and ice cream before you enjoy them.
— V —
Share This Story!
KEEP UP WITH THE LATEST STORIES FROM VIE


