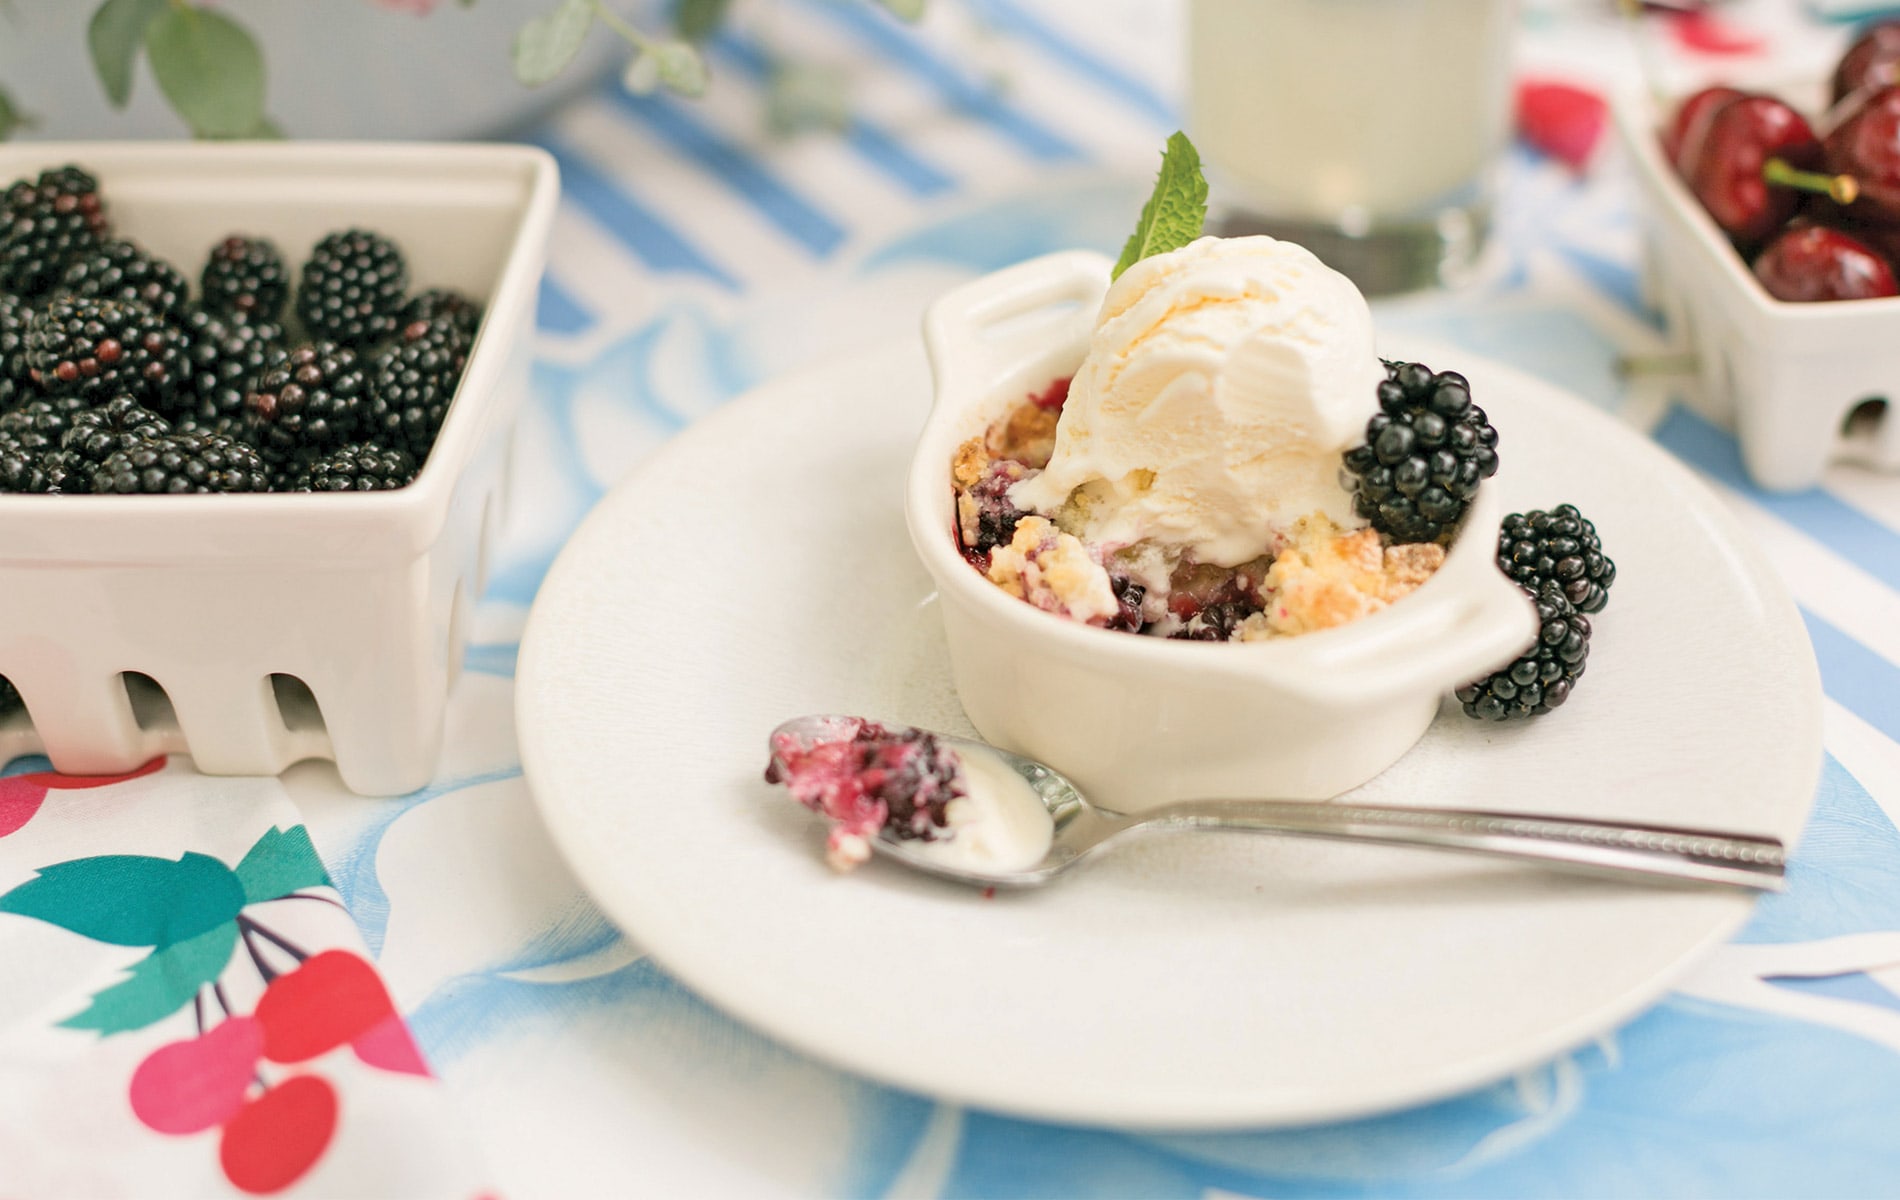
vie-magazine-elisabeth-and-butter-hero-min
Butter at Its Best
Southern Baking and Blogging with Elisabeth and Butter
By Lucy Young | Photography courtesy of Elisabeth and Butter
“Eat Cake for Breakfast.”
—Kate Spade.
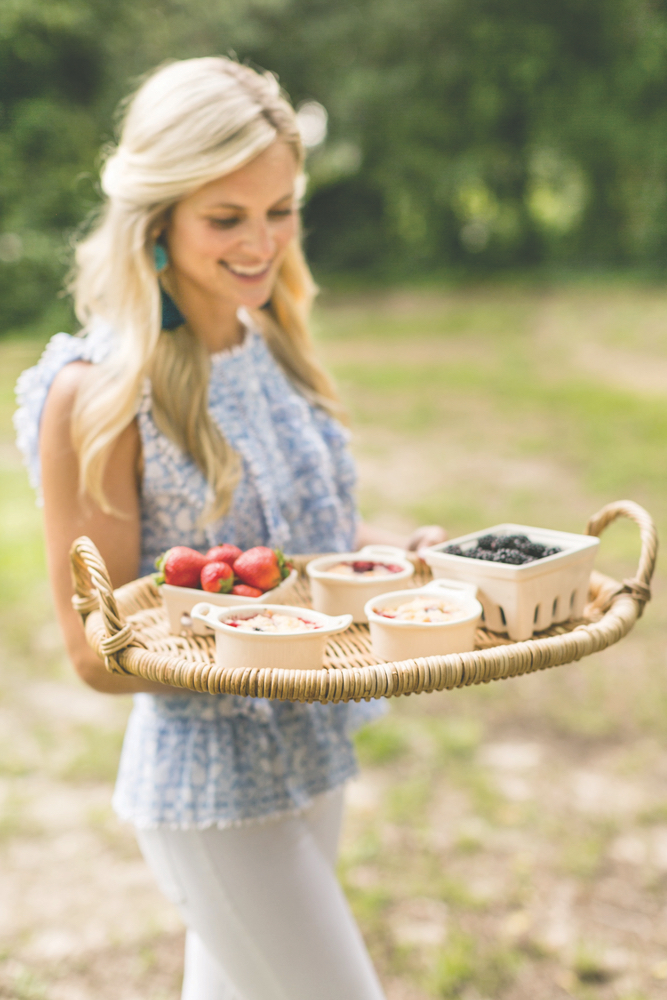
If Kate Spade says so—and Elisabeth and Butter is doing the baking—count us in! We are stepping into the kitchen of Elisabeth Epperson Farris, creator of the Elisabeth and Butter brand, to get a taste of her business in the baking and blogging worlds.
Born and raised in Montgomery, Alabama, Farris got her start making messes and creating in the kitchen with her mother and two sisters. With the freedom to experiment and explore, Elisabeth fell in love with baking and decorating cookies at an early age. Her culinary curiosity and determination have led not only to following recipes to make delicious confections, but also to creating her own by finding inspiration from resources such as cookbooks, magazines, and baking blogs. Coming up with a new recipe is no easy feat. Farris explains, “If I want to make a delicious apple pie recipe to introduce on my blog, I have to take it one step at a time, working first to perfect the crust. I look at a variety of recipes and compare ingredients, sometimes combining recipes until I find exactly what I’m looking for. This can take weeks, but I love the process and learn so much from my failures and triumphs.”
Her creations look picture perfect and taste divine, but Farris makes sure that her recipes are easy enough for beginning bakers to feel confident. Farris admits, “Baking can be very intimidating, so I love to share my self-taught tips to help others find the joy in baking that I have.”
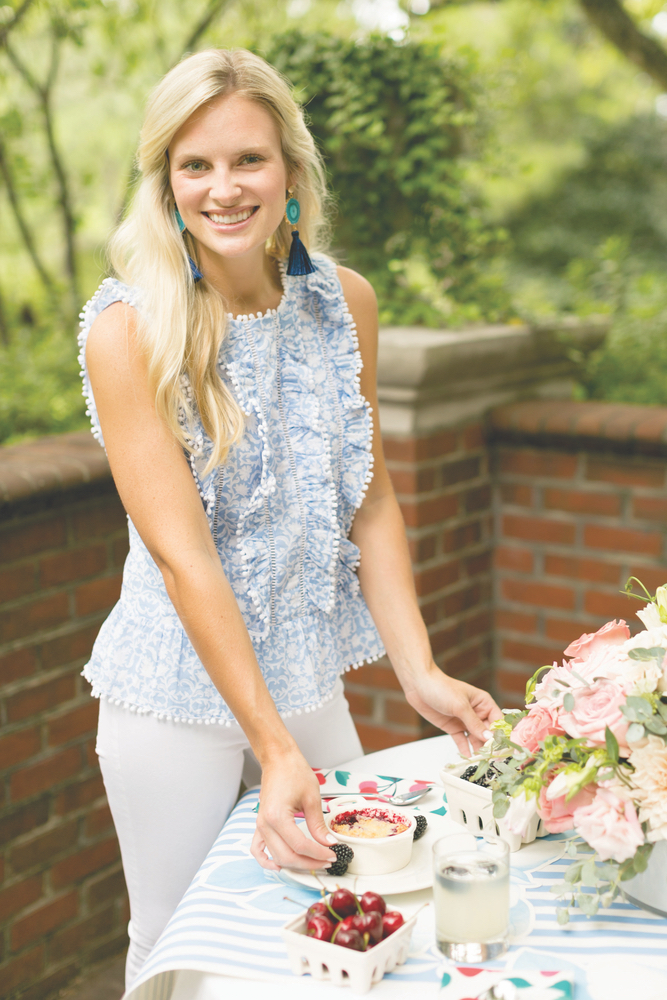
Farris’s passion for baking developed into a small business selling sugary works of art when she was in high school. It continued to grow during her time at Auburn University through word of mouth and her Instagram account (@elisabethandbutter). This platform created the perfect space for Farris to share her creations with family, friends, and potential clients. Postgraduation, Farris made a move to Charleston, where she decided to take her brand to the next level by launching a blog that would allow her to share more detailed accounts of her recipes and baking collaborations.
Partnering with other bloggers and brands has proved to be a fantastic experience for Farris and a great success for Elisabeth and Butter. Farris worked with Julia Engel of Gal Meets Glam as that blog’s first cooking contributor in 2017. She has also worked with Mud Pie, Southern Living, Country Living, James Farmer, Southern Weddings magazine, and, most recently, Draper James (Reese Witherspoon’s lifestyle brand). Farris has made several appearances on the Draper James blog, wearing beautiful outfits from Witherspoon’s clothing line and sharing recipes for all occasions. Sounds like the perfect ingredients for a stylish Southern duo!
Baking can be very intimidating, so I love to share my self-taught tips to help others find the joy in baking that I have.
With so much experience in the kitchen and a myriad of recipes under her belt, is it possible for Farris to narrow down an all-time favorite dessert? Actually, yes! “My favorite go-to recipe is my mom’s carrot cake with cream cheese frosting,” she says. “It is the perfect cake for every holiday and has always been my family’s favorite! The cake is moist every time, and even those who don’t like carrot cake are guaranteed to like this one.” Luckily for her readers, Farris has shared this all-star recipe on her blog, so anyone can try it!
Through Elisabeth and Butter, Farris has traveled all over the map, but since getting married in October of 2017, she and her new husband call the area along Scenic Highway 30-A in Northwest Florida their home. “It has truly been a dream living here!” she says. “The beach has always been my favorite place to visit, so I was most looking forward to doing everyday life here and starting our marriage in such a wonderful place.” As Farris settles into married life at the beach, she continues to grow her blog and set exciting new goals, including writing her cookbook and eventually having her own baking show on the Food Network. For now, she is happy and content to bake by the beach and share what she loves with her hungry audience online.
Tips for Making a Cake from Elisabeth and Butter
- Grease and flour your cake pan(s) using shortening and all-purpose flour. Using your hands, rub the shortening all over the pan, making sure to cover every corner. (If you don’t want your hands to get greasy, use a plastic sandwich bag or a piece of wax paper to spread the shortening.) Next, sprinkle a couple of tablespoons of flour into the pan and spread it around to cover all the surfaces; pour the excess into the next greased pan. This process makes for easy removal of the finished cake and no broken layers.
- Let your cake cool in the pan for about ten minutes, then gently remove it and place it on a cooling rack.
- Never frost a warm cake! I have learned this the hard way—most of the time, if not always, it will end in a disaster.
- For layer cakes, wrap layers in plastic wrap and place in the freezer for a few hours (or even weeks, depending on when you need the cake). This makes the layers much sturdier and easier to stack and frost.
- Using a sharp serrated knife, shave off the top of the cake if it isn’t flat.
- If you’re planning to transport your cake, use a plastic or cardboard cake board that is about two inches wider than your actual cake. Place a small amount of buttercream in the center of your board or cake stand to act as glue; this will keep the cake in place and avoid any sliding.
- Use a turntable and place your cake board on top of it.
- Place your first layer flat on the board. Add a large dollop of buttercream to the center of the layer, and spread it around using an offset spatula. Repeat for the second layer.
- For the top layer, place the cake upside down, so the bottom is at the top. This will ensure a flat surface on the top of the cake.
- Crumb coat your cake to avoid any crumbs in your pretty icing. To do this, use a cake smoother to spread a thin layer of frosting over the entire cake. Then place the cake in the refrigerator until the frosting has completely hardened.
- Using the turntable again, spread a thicker layer of buttercream over the entire cake. Turn your turntable while frosting your cake to ensure that it is even.
- If you’re going for a naked or seminaked cake, use an icing scraper to crumb coat and don’t add the second layer of icing.
- To create a rustic look, use an offset spatula to create waves or texture in the icing. To keep it perfectly smooth, use the icing scraper.
- To create a border, use a piping bag fitted with a large star tip. Cut a small amount off the bottom of your piping bag and place the tip in it, making sure the hole is large enough for the star tip but not so big that the star tip will fall through it.
- If you plan on transporting your finished cake, store it in the refrigerator until it’s time to go. It will transport better if the frosting is cool! Serve at room temperature.
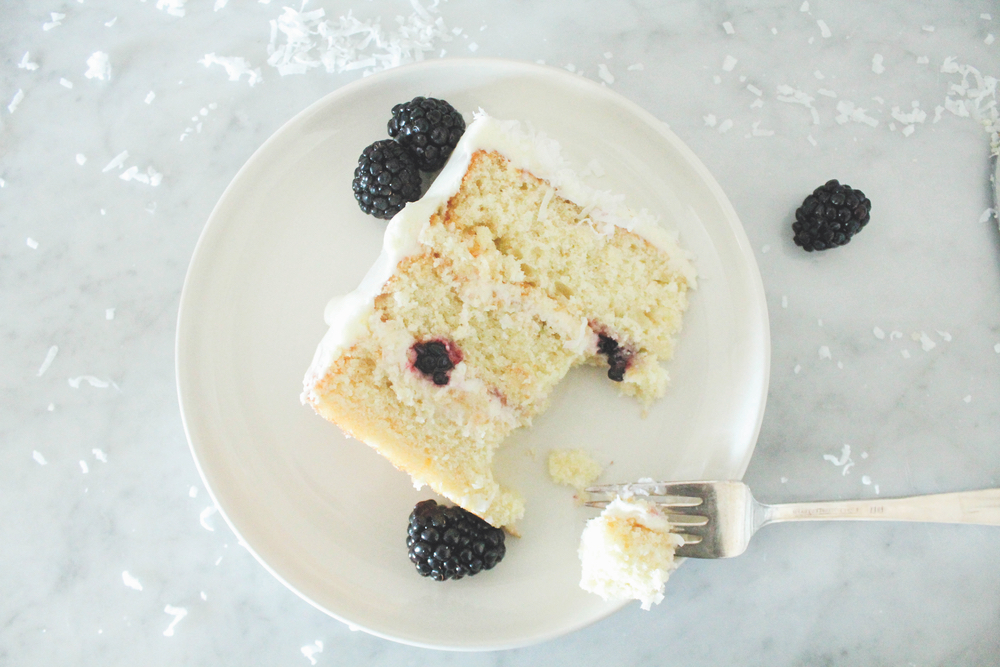
Blackberry Coconut Cake
Yields three eight-inch layers of moist coconut cake with fresh blackberries and coconut cream cheese frosting
Ingredients:
For the cake:
1 1/2 cups salted butter (three sticks), softened
2 1/4 cups sugar
4 egg whites, room temperature
2 teaspoons vanilla extract
1 teaspoon coconut extract
3 cups all-purpose flour
1/4 teaspoon baking soda
2 3/4 teaspoons baking powder
1 1/2 cups whole milk, room temperature
For the frosting:
1 (8-ounce) package cream cheese, softened
1 1/2 sticks salted butter, softened
1 teaspoon coconut extract
5 cups confectioners’ sugar
Shredded coconut
Fresh blackberries
Directions:
For the cake:
- Preheat oven to 350°F. Grease and flour three eight-inch cake pans using shortening and flour.
- In a mixing bowl fitted with a paddle attachment, cream butter and sugar together for two minutes. The butter will be light and fluffy. Scrape down the sides of the bowl.
- Add egg whites, vanilla, and coconut extract, and beat for one minute (not longer, or your egg whites will change the consistency of the batter).
- In a medium-sized bowl, whisk together the flour, baking soda, and baking powder.
- Add about one third of the flour to the butter mixture and beat until incorporated, then scrape down the sides of the bowl.
- Add about half of the milk to the batter and beat until incorporated, then scrape down the sides of the bowl.
- Continue adding flour and milk alternately, ending with the flour mixture. Do not overmix.
- Divide the batter into the three greased pans and bake for twenty to thirty minutes or until lightly browned and a test toothpick comes out clean.
- Cool in pans for ten minutes and then turn out onto a cooling rack; leave until completely cooled.
For the frosting:
- In a mixing bowl, beat the softened cream cheese and butter on medium-high speed for about three minutes until light and fluffy. Add coconut extract and mix until combined.
- Slowly add the confectioners’ sugar with the mixer on low until it is combined, then turn the mixer up and beat for one minute until smooth and fluffy.
- Frost the cake layers, adding some fresh blackberries in between. Frost around the sides and top of the cake, cover with fresh shredded coconut, and top with blackberries.
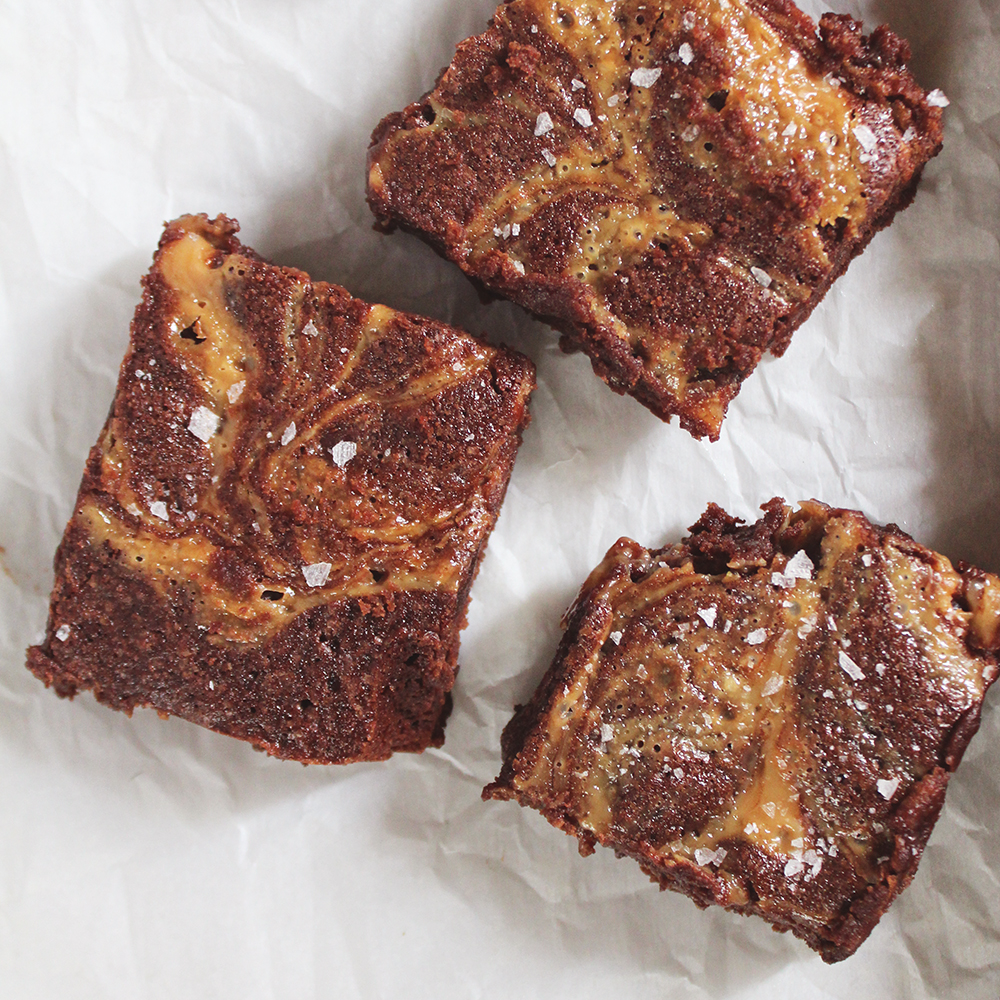
Salted Caramel Brownies
Yields twelve to sixteen brownies
Ingredients:
2 cups sugar
2/3 cup cocoa powder
1 cup all-purpose flour
1/2 teaspoon salt
1/2 teaspoon baking powder
1 cup (two sticks) salted butter, melted then cooled
4 large eggs
2 teaspoons vanilla extract
1 cup chocolate chips (I used dark chocolate, but semisweet is great, too!)
5 1/2 ounces Kraft caramels (about 20 squares)
1/2 cup sweetened condensed milk
Maldon sea salt for sprinkling
Directions:
- Preheat oven to 350°F and place a layer of parchment paper in a nine-by-thirteen-inch baking pan, covering the bottom and sides.
- In a mixing bowl fitted with a paddle attachment, combine the sugar, cocoa powder, flour, salt, and baking powder. Add the eggs and vanilla extract and mix on medium speed for one to two minutes until completely combined. Pour in the cooled melted butter and mix for one minute until smooth. Stir in the chocolate chips. Pour the batter into the lined baking pan and spread out using a spatula.
- In a microwave-safe bowl or glass measuring cup, put the unwrapped caramels and sweetened condensed milk together and microwave in 30-second intervals, stirring between each one, until mixture is completely smooth. Once smooth, drizzle about half* of the caramel on the brownie batter and swirl together using a knife. I drag my knife down the batter and then across, so the swirls go both ways.
- Bake for 20 to 25 minutes or until a test toothpick comes out clean. Sprinkle sea salt on top as soon as the brownies come out of the oven. Allow to cool completely before slicing.
*I save the other half of the caramel to drizzle on ice cream and a warm brownie. Store in the refrigerator and warm in the microwave to melt again.
— V —
Share This Story!
KEEP UP WITH THE LATEST STORIES FROM VIE
