
Vie-Blog-Dec15-Holiday-Hair-02
Easy, Breezy, DIY Holiday Hairstyles!
Hair to Help!
The closer we get to approaching the holidays, the more life seems to speed up to high gear. You get so busy trying to wrap up everything you need to do that you forget to do other things—get milk, that last gift for Aunt Millie, etc. Calling your hair salon to get your hair done for a holiday party is the last thing on your mind. When you do have a chance to call, you’re stuck trying to get “squeezed in,” only to hear those sad seven words, “Sorry, we’re all booked for the holidays.”
Since the holidays always call for dreamy and glam hairstyle that will make you shine brighter than those twinkly window display lights down on Fifth Avenue, we’ve got you covered to look your holiday best. Brenna Kneiss with one of the most prominent salons on Florida’s Emerald Coast, Vivo Spa Salon, is here to show you how to get that dreamy holiday hair look you can do yourself at home with step-by-step instructions.
Before getting started, we got some tips from Brenna. Tip one: When it comes to hair products, splurge on the good stuff. Remember, you get what you paid for. She recommends Davines hairspray to get that long-lasting hold without leaving your hair so stiff it’s motionless! Tip two: A day-old hair is great for updos! The grease from your natural hair oils will tend to hold better than newly washed hair (aka “clean hair”), so you can skip the gel. Tip three: When using bobby pins, remember that the ridges are designed to hold the hair. Don’t make the common mistake of pinning ridge-side out!
LOOK ONE:
Thank you Heather Pittman for modeling this gorgeous look!
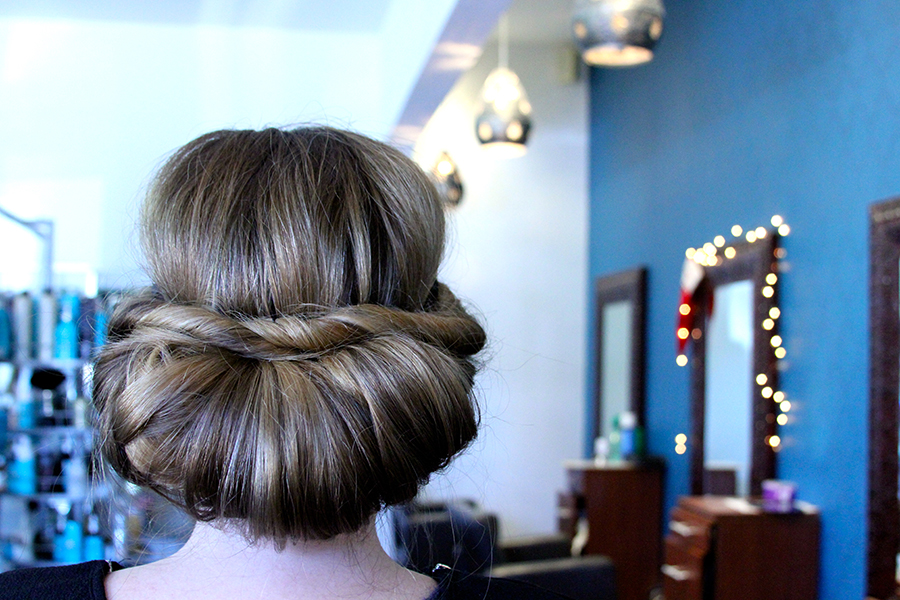
Contour Headband Updo: Great for Medium to Long Hair, this hair do will certainly light up the room, and you’ll never believe it’s easier than it looks!
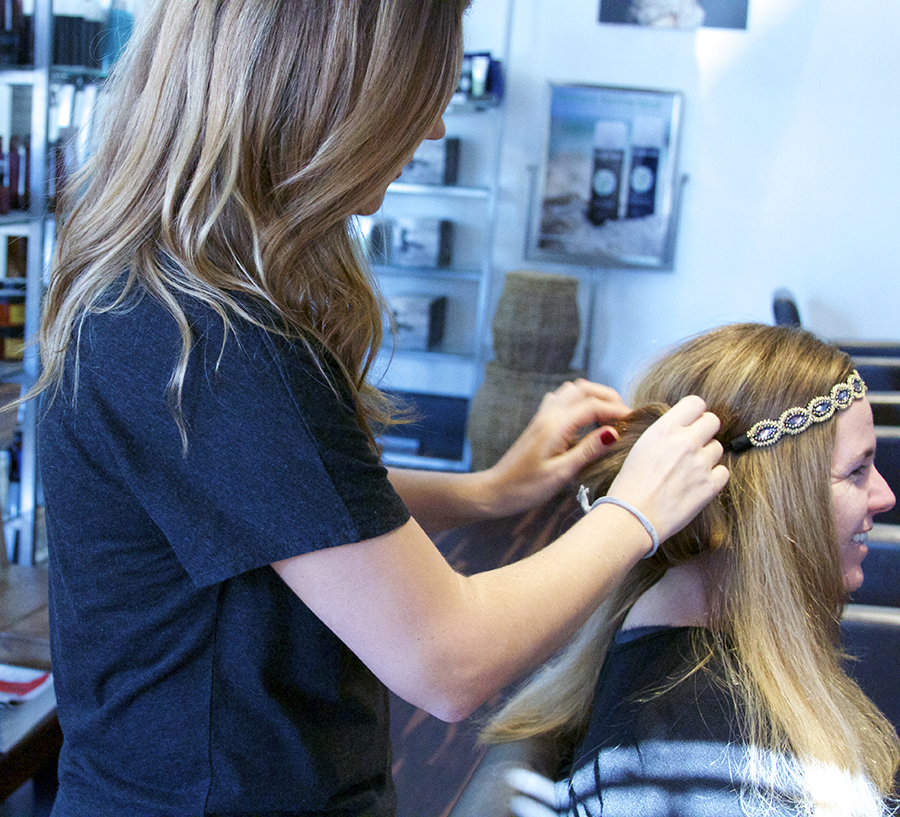
Step One: Place headband on the crown of your head or your forehead (whichever you prefer).
Step Two: Fold over loose strands of hair from underneath the headband. Tuck it in the headband as loosely or tightly as you would like. Work from the center to the sides. Don’t worry about it being too messy. You can make this hairstyle as neat or messy as you choose. Leave one section of hair loose on each side of your face.
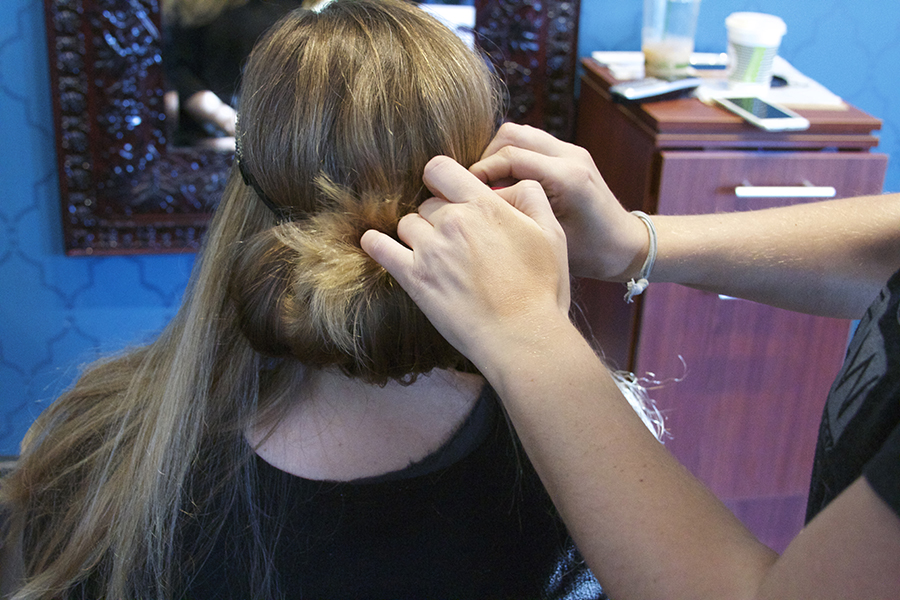
Step Three: Twists the both of the end sections of hair and tuck them into the headband above the rest.
One of the twists should overlap the other. You’re getting there!
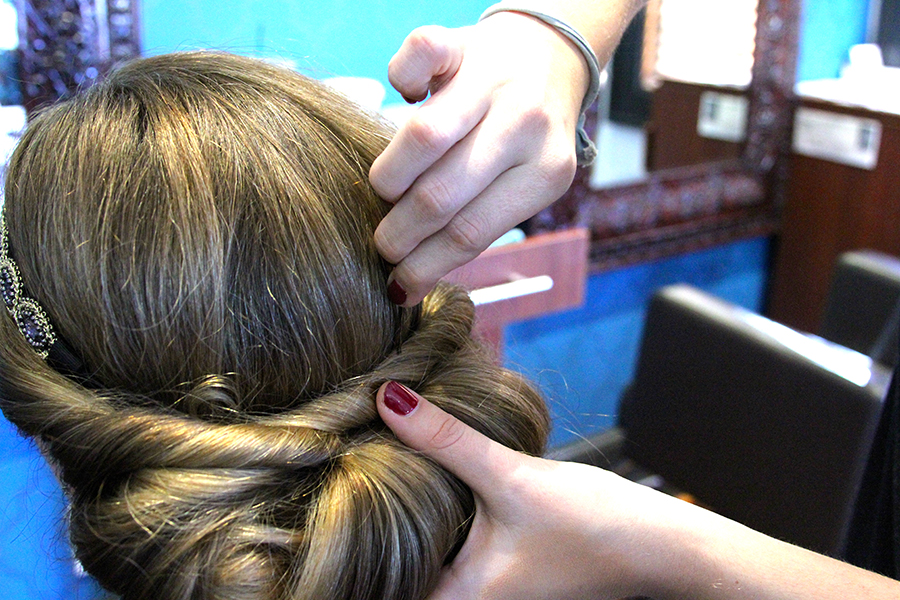
Step Four: Secure with bobby pins (*hint, place bobby pins where hair feels loose to make sure your hair stays in place through the night). Adjust as you go. When you’re happy with the end result, just spray and you’re ready to go!

 LOOK TWO:

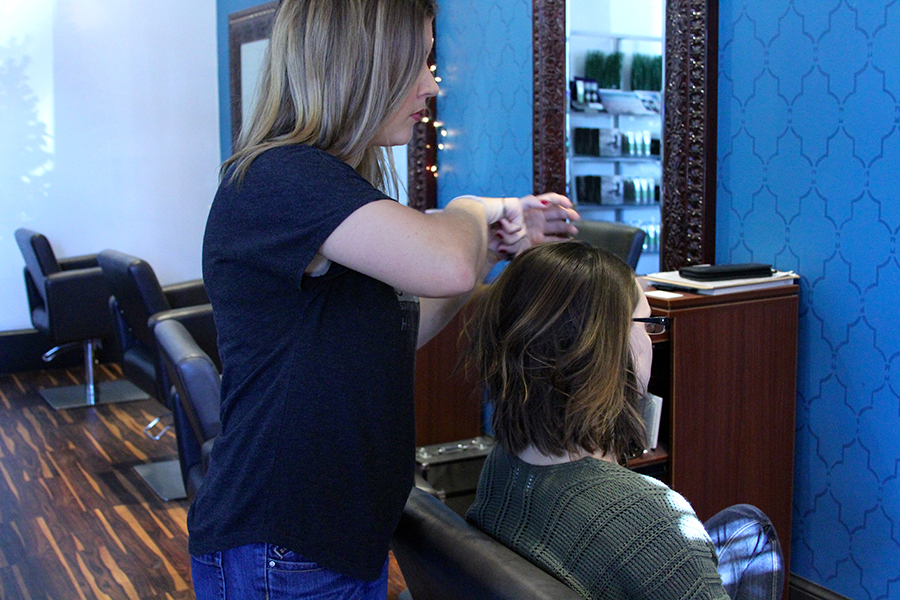
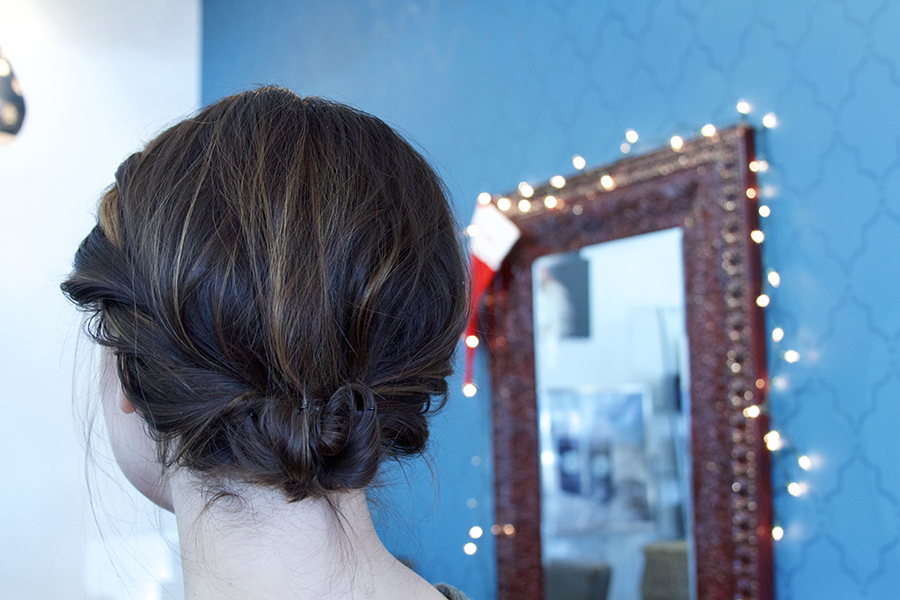
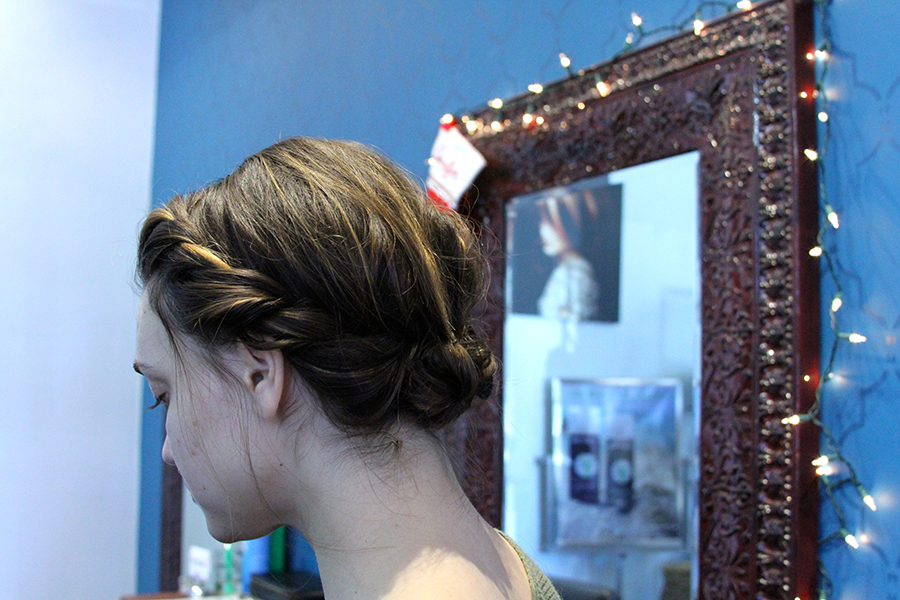
Thank you to Ilyssa Goddin for modeling this chic hairstyle!
The Graceful Twist: Great for Short to Long hair, it’s the perfect alternative to a braid. This will be perfect if you’re going for that sweet and elegant look.
Step One: Part your hair where you would normally part it
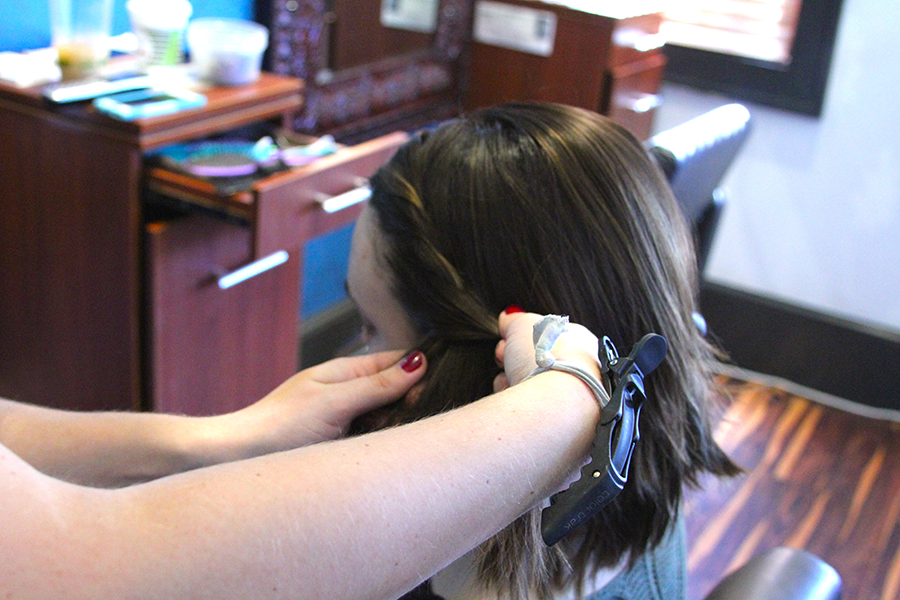
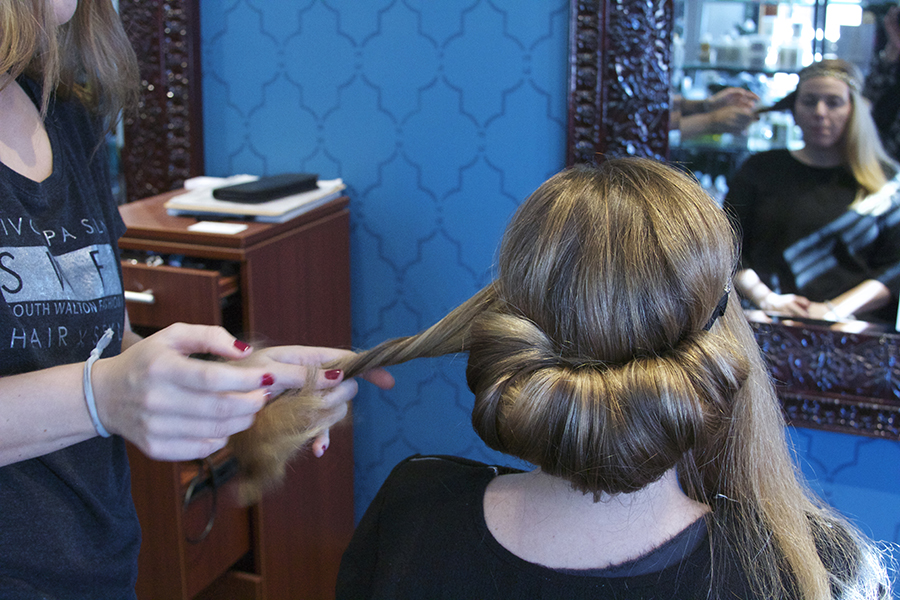
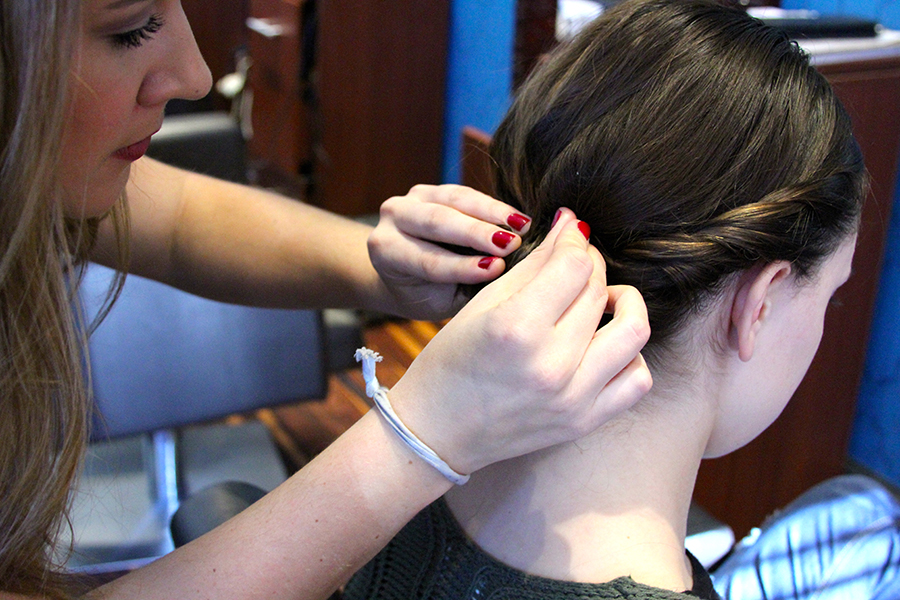
Step Two: Take two pieces of hair on the hairline and twist while feeding more hair as you go down the hairline toward the back of the head (similar to a French braid). Use a hair clamp similar to the one in the image above, to keep the twist in place while you twist the other side of the hairline.
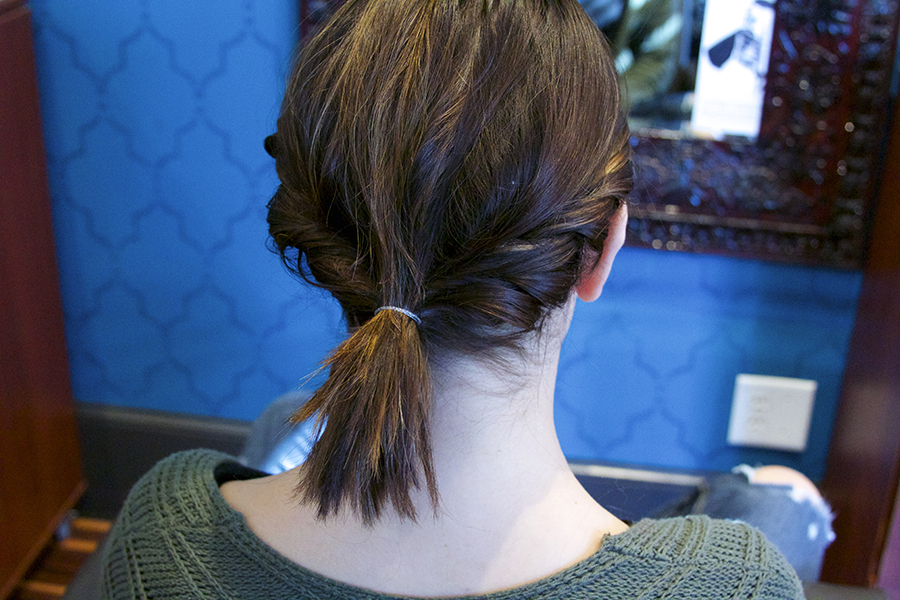
Step Three: After you’ve twisted both sides, join them together in a ponytail. If you have longer hair, then grab another hair tie and loop your hair to start to form your messy bun.
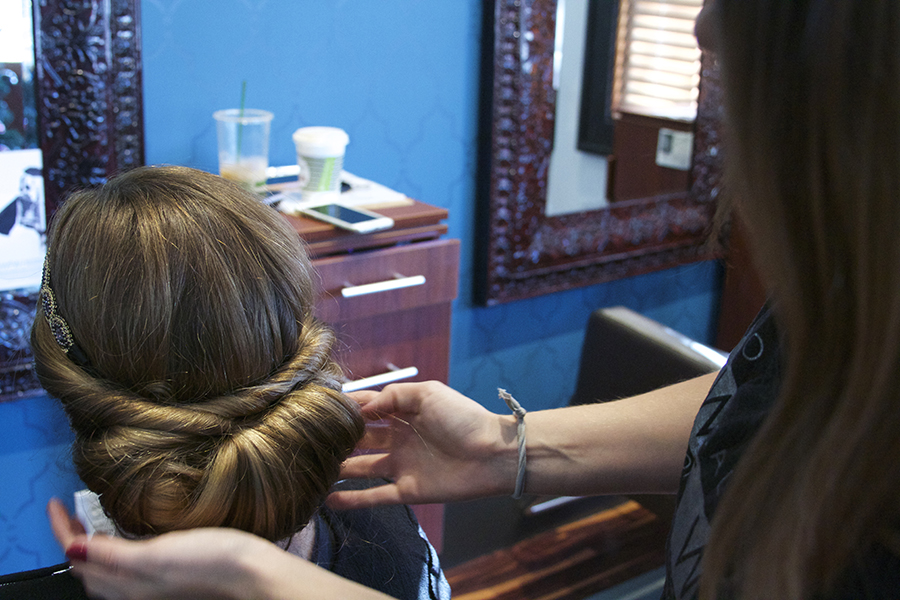
Step Four: Use bobby pins and start to form your messy bun and secure placement.
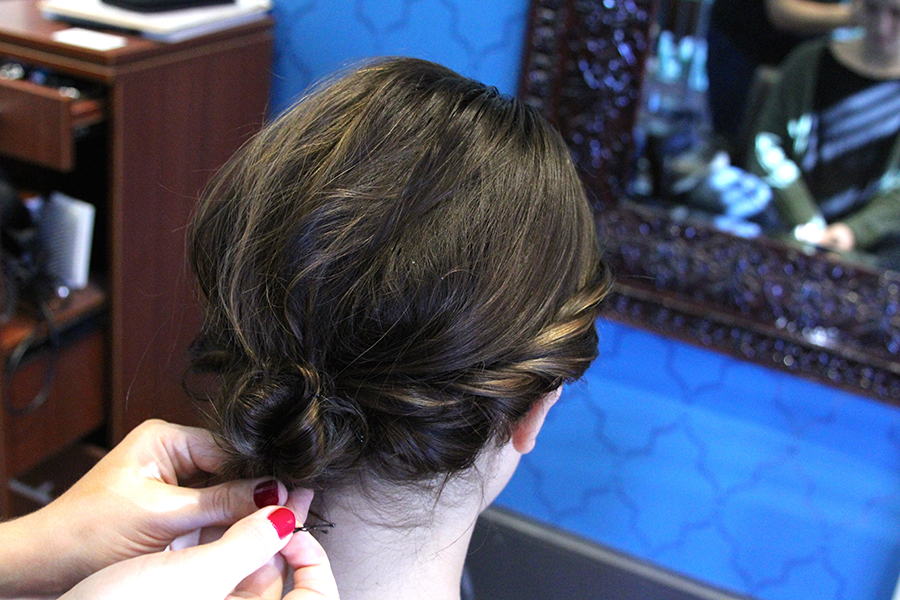
The messier the bun, the better!
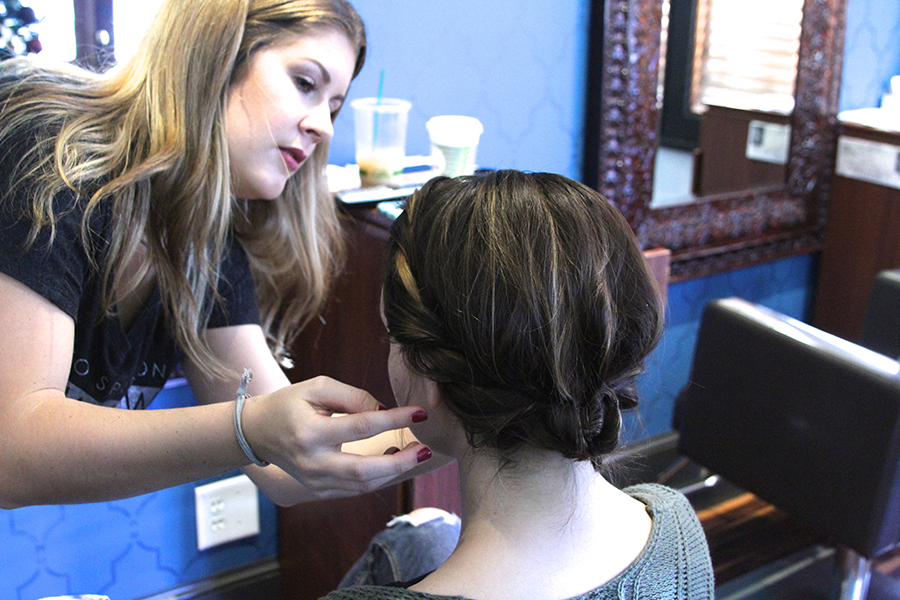
Step Five: Fluff out the side twists for more volume if desired. Pull out small pieces of strands for a loose look.
Final Step: Spray and go! Welcome to Holiday Perfect Hair!
If you want to keep things simple, but timelessly beautiful, stick to these easy-to-do hairstyles. These classy ‘dos will make everyone wonder where you got your hair done!
Have any other ideas for stylish DIY holiday hair? We’d love to hear them!
Share This Story!
CATEGORIES
RECENT POSTS
NEWSLETTER
Sign up to receive exclusive content updates
KEEP UP WITH THE LATEST STORIES FROM VIE